Table of Contents
⚠️ Disclaimer:
This guide is for informational purposes only. Perform modifications at your own risk. The author is not responsible for damages or injuries resulting from this process.
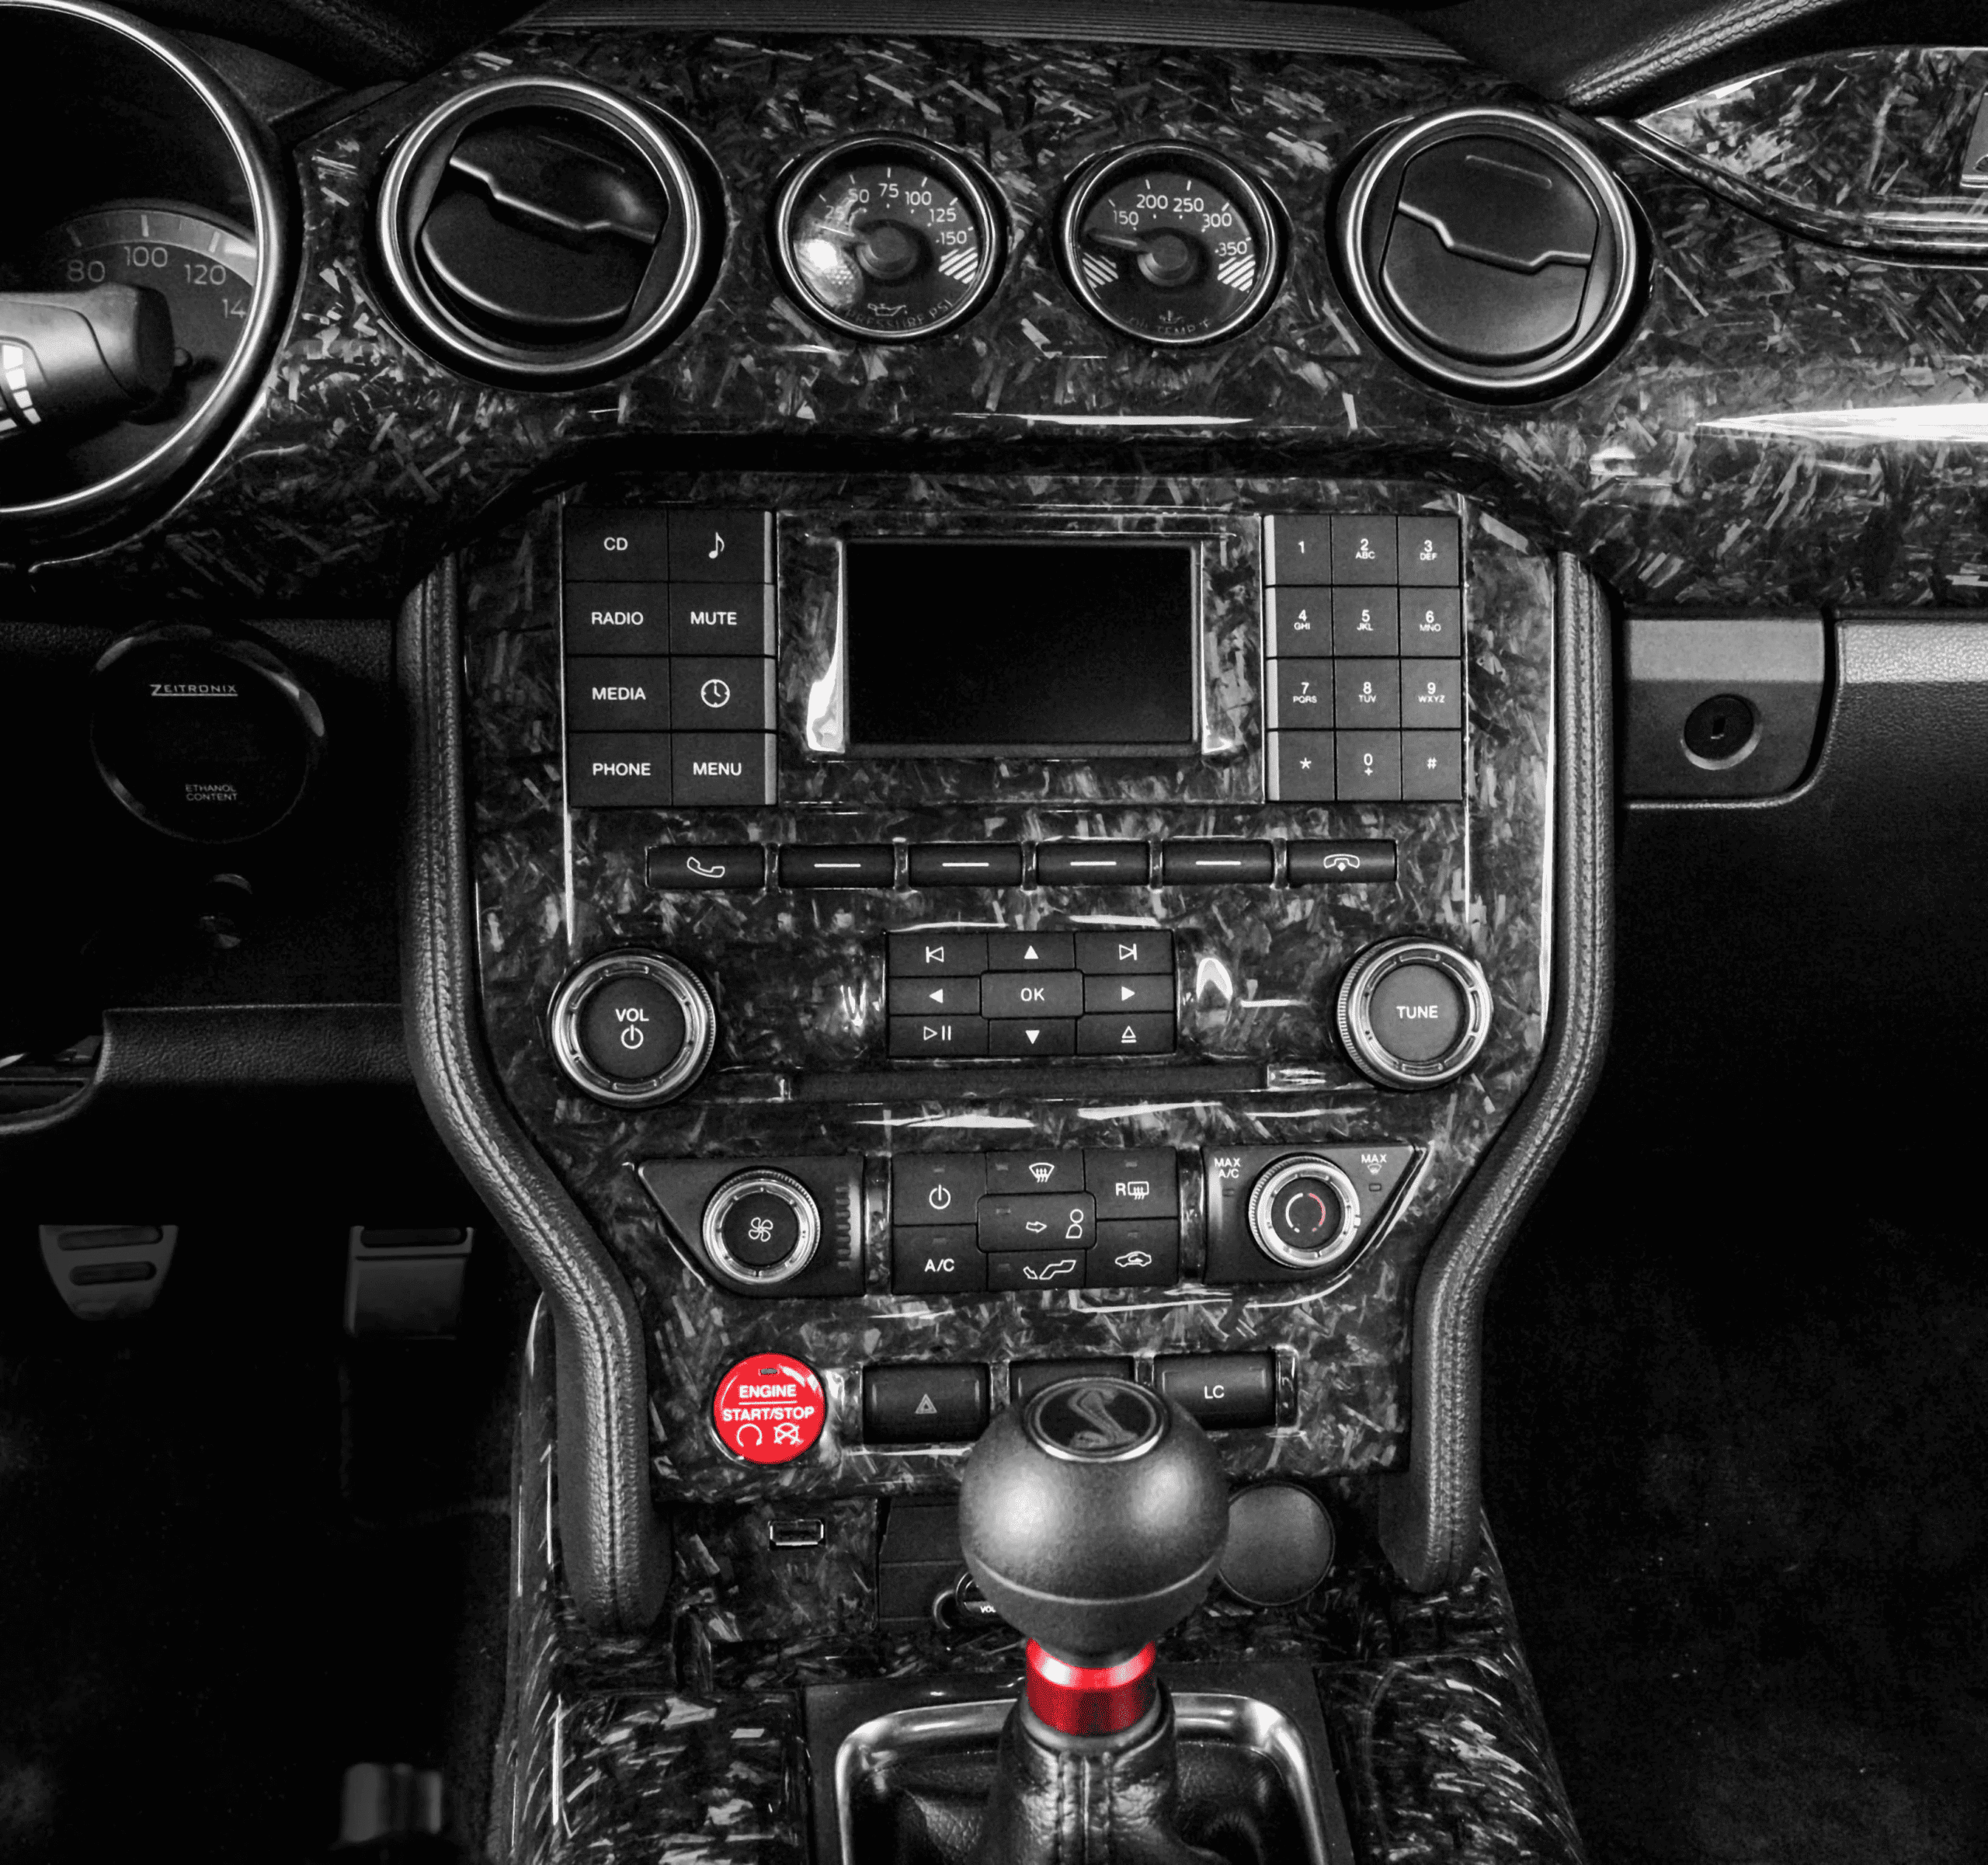
Why Install a Carbon Fiber Dash Kit?
A carbon fiber dash kit transforms your car’s interior from bland to bold. It’s a cost-effective way to add luxury, sportiness, and personalization. Whether you’re upgrading for aesthetics or resale value, this DIY project takes just a few hours!

Tools & Materials Needed
- Carbon Fiber Dash Kit (ensure it’s vehicle-specific).
- Heat Gun or Hair Dryer (for molding curved pieces).
- Isopropyl Alcohol Pads (included in most kits).
- Plastic Pry Tool (to remove panels if needed).
- Super Glue (for emergency fixes).
Step 1: Unbox & Inspect Your Kit
- Check the Contents:
- Compare pieces against the manufacturer’s diagram (often online or included).
- Verify shapes match your dash, doors, and shifter areas.
- Identify Adhesive Type:
- High-quality kits use 3M full-coverage adhesive; budget kits may have strips.
Step 2: Prep the Pieces
Heat is Key:
- Summer Install: Lay pieces on your car’s hood—sun heats both sides to 80–110°F.
- Winter/Indoor Install: Use a heat gun on low setting (avoid overheating).
Pro Tip: Cold pieces curl and resist adhesion. Heat until pliable but not sticky.
Step 3: Clean the Surface
- Wipe Down Surfaces:
- Use included alcohol pads or Windex to remove dust, oils, and dirt.
- Work quickly—alcohol evaporates fast!
- Dry Thoroughly:
- Moisture weakens adhesive bonds.
Step 4: Apply the Pieces
- Test Fit First:
- Hold each piece against its target area to check alignment (e.g., light switch cutouts).
- Peel & Stick:
- Slowly remove the red backing from the 3M adhesive.
- Align edges carefully—no second chances!
- Press Firmly:
- Start from the center, smoothing outward to eliminate bubbles.
Step 5: Tackle Contoured Areas
- Reheat as Needed: Curves require extra heat to flex the material.
- Use Super Glue Sparingly:
- If edges lift after cooling, apply a dab to the underside and press for 30 seconds.
Pro Tips for a Flawless Finish
- Work in Sections: Install one panel at a time to maintain focus.
- Avoid Direct Sunlight: Adhesive cures too quickly, risking misalignment.
- Trim Excess: Use a razor blade (carefully!) if pieces overlap edges.
Troubleshooting FAQ
Q: My piece won’t stick! What’s wrong?
A: Reheat the adhesive and surface. Dust or cold temps are likely culprits.
Q: Can I reposition a misaligned piece?
A: Gently peel it off while warm. Clean residue with Goo Gone, then reapply.
Q: Will this damage my original dash?
A: No—kits adhere without permanent alteration. Remove with heat and patience.
When to Call a Professional
- If your dash has complex curves or integrated electronics.
- For leather/soft-touch surfaces—adhesive may react poorly.
Conclusion
A carbon fiber dash kit is an easy, affordable way to revitalize your car’s interior. Follow these steps, take your time, and enjoy the premium look. Share your results online—tag us to show off your ride’s new style!
Expand Your Automotive Knowledge 📝
Explore 500+ Free Expert-Curated Guides
🚗 Learn New Skills
From basic maintenance to advanced repairs — clear, actionable tutorials for every skill level.
🌍 Access Anywhere
Mobile-friendly guides with HD visuals. No downloads required.
- Guides & Tutorials
- Car Maintenance 101
- Diagnostics & Troubleshooting
- Seasonal Maintenance
- Budget-Friendly Repairs
- Electrical Systems Guide
- Car Safety & Reliability
- Tools & Product Reviews
- Routine Maintenance
- Car Modifications & Upgrades
- Buying/Selling Guides
- Eco-Friendly Car Care
- Advanced Repairs
- Car Laws & Compliance
- Emergency Repairs
- Future Car Tech