Boost Your EV Experience with Smarter Charging—Save Time, Money, and Energy!
1. Why Upgrade to a Smart Car Charger? 💡
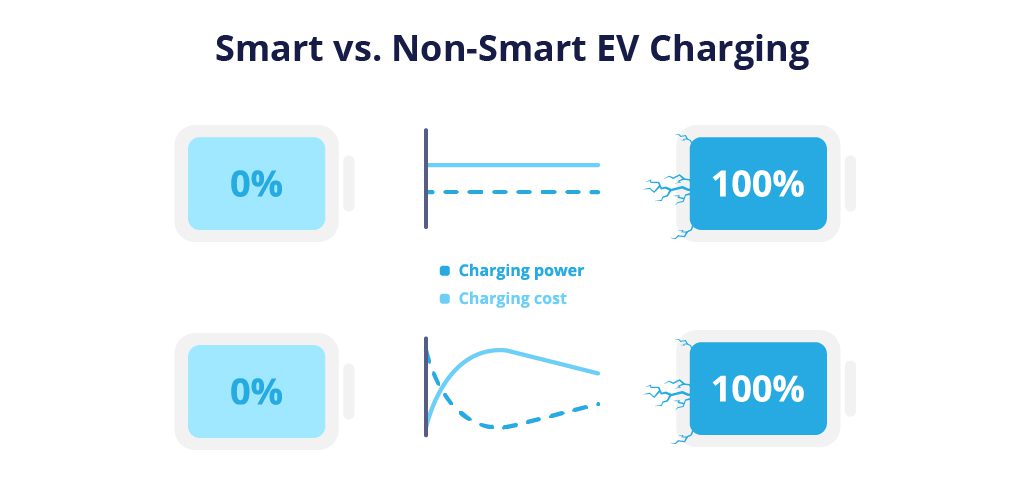
Smart chargers offer next-level control over your EV charging, with benefits like:
- Scheduled Charging: Save money by charging during off-peak hours.
- Remote Monitoring: Control sessions via smartphone apps (e.g., Tesla, ChargePoint).
- Energy Tracking: Monitor usage and costs in real time.
- Solar Integration: Sync with home solar systems for greener charging.
Key Stat: Smart chargers reduce energy costs by 30% compared to standard chargers (DOE).

2. Tools & Materials You’ll Need 🧰
| Item | Purpose | Cost |
|---|---|---|
| Smart charger (Level 2) | 240V charging | 400–800 |
| Circuit breaker (40–60A) | Dedicated power supply | 20–50 |
| 6 AWG copper wire | Handle high current | 2–5/foot |
| Conduit & fittings | Protect wiring | $30 |
| Voltage tester | Ensure power is off | $15 |
| Wi-Fi extender (optional) | Strengthen signal for app control | $40 |
Pro Tip: Choose a UL-listed charger (e.g., JuiceBox, ChargePoint) for safety compliance.
3. Step-by-Step Installation Guide 📋
Step 1: Check Electrical Capacity
- Verify your panel has space for a 40–60A breaker.
- Calculate load: Ensure total household usage + charger ≤ panel capacity.
Step 2: Mount the Charger
- Choose a location: Near parking spot, protected from weather.
- Drill holes and secure the charger to the wall with anchors.
Step 3: Run Wiring from Panel to Charger
- Turn off main power at the breaker panel.
- Install the circuit breaker (match charger specs).
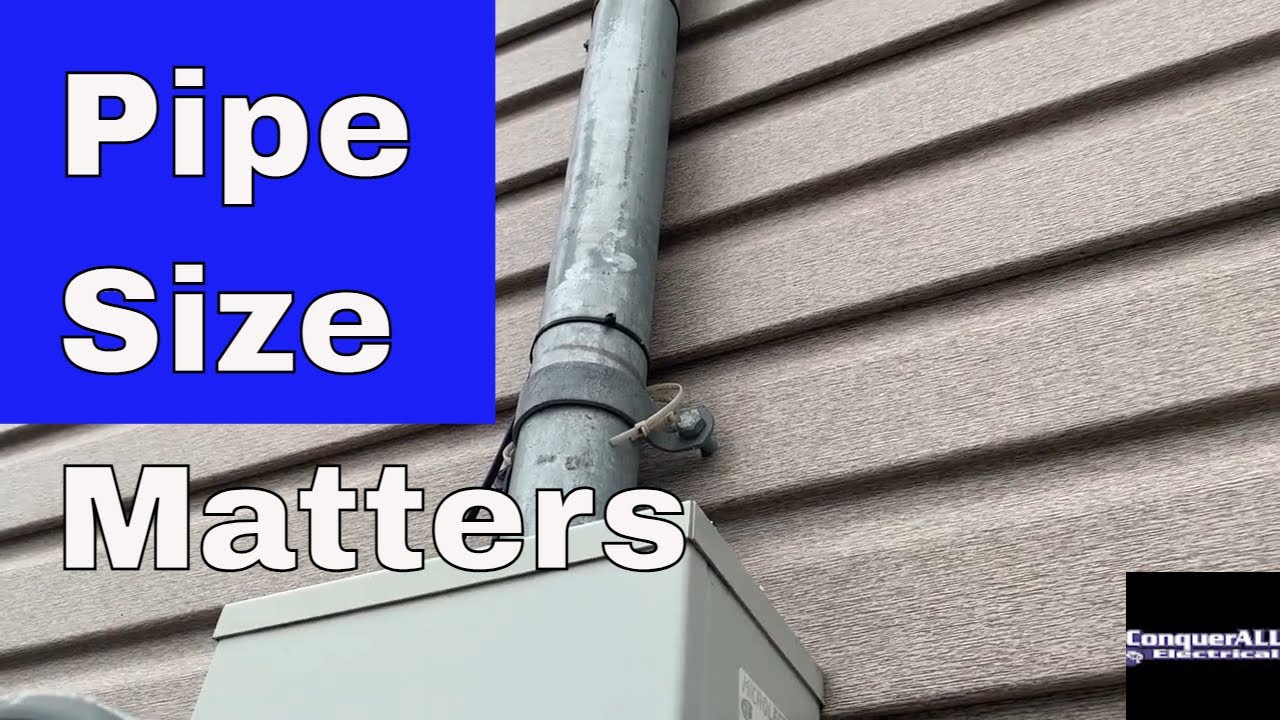
- Route 6 AWG wires through conduit from panel to charger.
- Hot wires (x2): Black/Red → Breaker
- Neutral (if needed): White → Neutral bus
- Ground: Green → Ground bus
Warning: Follow local codes—some require a neutral wire for 240V systems.
Step 4: Connect Wires to the Charger
- Strip wire ends and attach to terminals:
- L1/L2: Black/Red wires
- Ground: Green wire
- Tighten screws to secure connections.
Step 5: Power Up and Configure
- Restore power and test voltage at the charger (240V).
- Connect to Wi-Fi via the charger’s app (e.g., JuiceNet, ChargePoint).
- Set preferences: Charging schedules, solar sync, user access.
4. Top 5 Smart Chargers for 2024 🏆
| Brand/Model | Power | Key Features | Price |
|---|---|---|---|
| Tesla Wall Connector | 48A | Tesla-only, Wi-Fi, OTA updates | $550 |
| ChargePoint Home Flex | 50A | Universal, adjustable amperage | $749 |
| JuiceBox 40 | 40A | Alexa/Google integration, energy reports | $649 |
| Grizzl-E Classic | 40A | Weatherproof, durable | $459 |
| Emporia EV Charger | 48A | Budget-friendly, solar-compatible | $399 |
5. 7 Costly Mistakes to Avoid ❌
- Undersized Wiring: 6 AWG is mandatory for 40A+ chargers.
- Ignoring Permits: Many localities require inspections for 240V installs.
- Skipping GFCI Breaker: Required by code for outdoor chargers.
- Poor Wi-Fi Signal: Weak connectivity disrupts app control.
- Incorrect Voltage: 120V outlets won’t support Level 2 chargers.
- Overlooking Load Management: Avoid tripping breakers during peak use.
- DIY Without Experience: Hire an electrician if unsure about wiring.
6. FAQs ❓🌟
Q1: Can I install a smart charger indoors?
A: Yes, but ensure ventilation and compliance with fire codes.
Q2: Do smart chargers work with all EVs?
A: Most are universal (J1772 plug), but Tesla needs an adapter.
Q3: How long does installation take?
A: 3–6 hours for DIY; 2–4 hours for a pro.
Q4: Can I use an existing dryer outlet?
A: Yes, with a 14-50 plug adapter (check amperage match).
Q5: What if my Wi-Fi goes down?
A: Chargers default to manual mode—no missed charging.
7. Free Installation Checklist 📝
[🔗 Download Your Free PDF Here]
Includes:
- Pre-installation electrical checklist.
- Wiring color code guide.
- Post-installation app setup steps.

Final Pro Tips 🌟
- Add a Locking Cover: Prevent unauthorized use (e.g., Hubbell 9450A).
- Monitor Energy Rates: Use apps like Optiwatt to auto-schedule cheap rates.
- Label Your Panel: Avoid confusion during future electrical work.
🚗 Share this guide to help friends charge smarter, not harder! 🚗
Expand Your Automotive Knowledge 📝
Explore 500+ Free Expert-Curated Guides
🚗 Learn New Skills
From basic maintenance to advanced repairs — clear, actionable tutorials for every skill level.
🌍 Access Anywhere
Mobile-friendly guides with HD visuals. No downloads required.
- Guides & Tutorials
- Car Maintenance 101
- Diagnostics & Troubleshooting
- Seasonal Maintenance
- Budget-Friendly Repairs
- Electrical Systems Guide
- Car Safety & Reliability
- Tools & Product Reviews
- Routine Maintenance
- Car Modifications & Upgrades
- Buying/Selling Guides
- Eco-Friendly Car Care
- Advanced Repairs
- Car Laws & Compliance
- Emergency Repairs
- Future Car Tech


