Table of Contents
⚠️ DISCLAIMER
Modifying your vehicle’s electrical system carries risks. Disconnect the battery before starting. Check local laws—some states prohibit colored underglow lights. Work at your own risk.
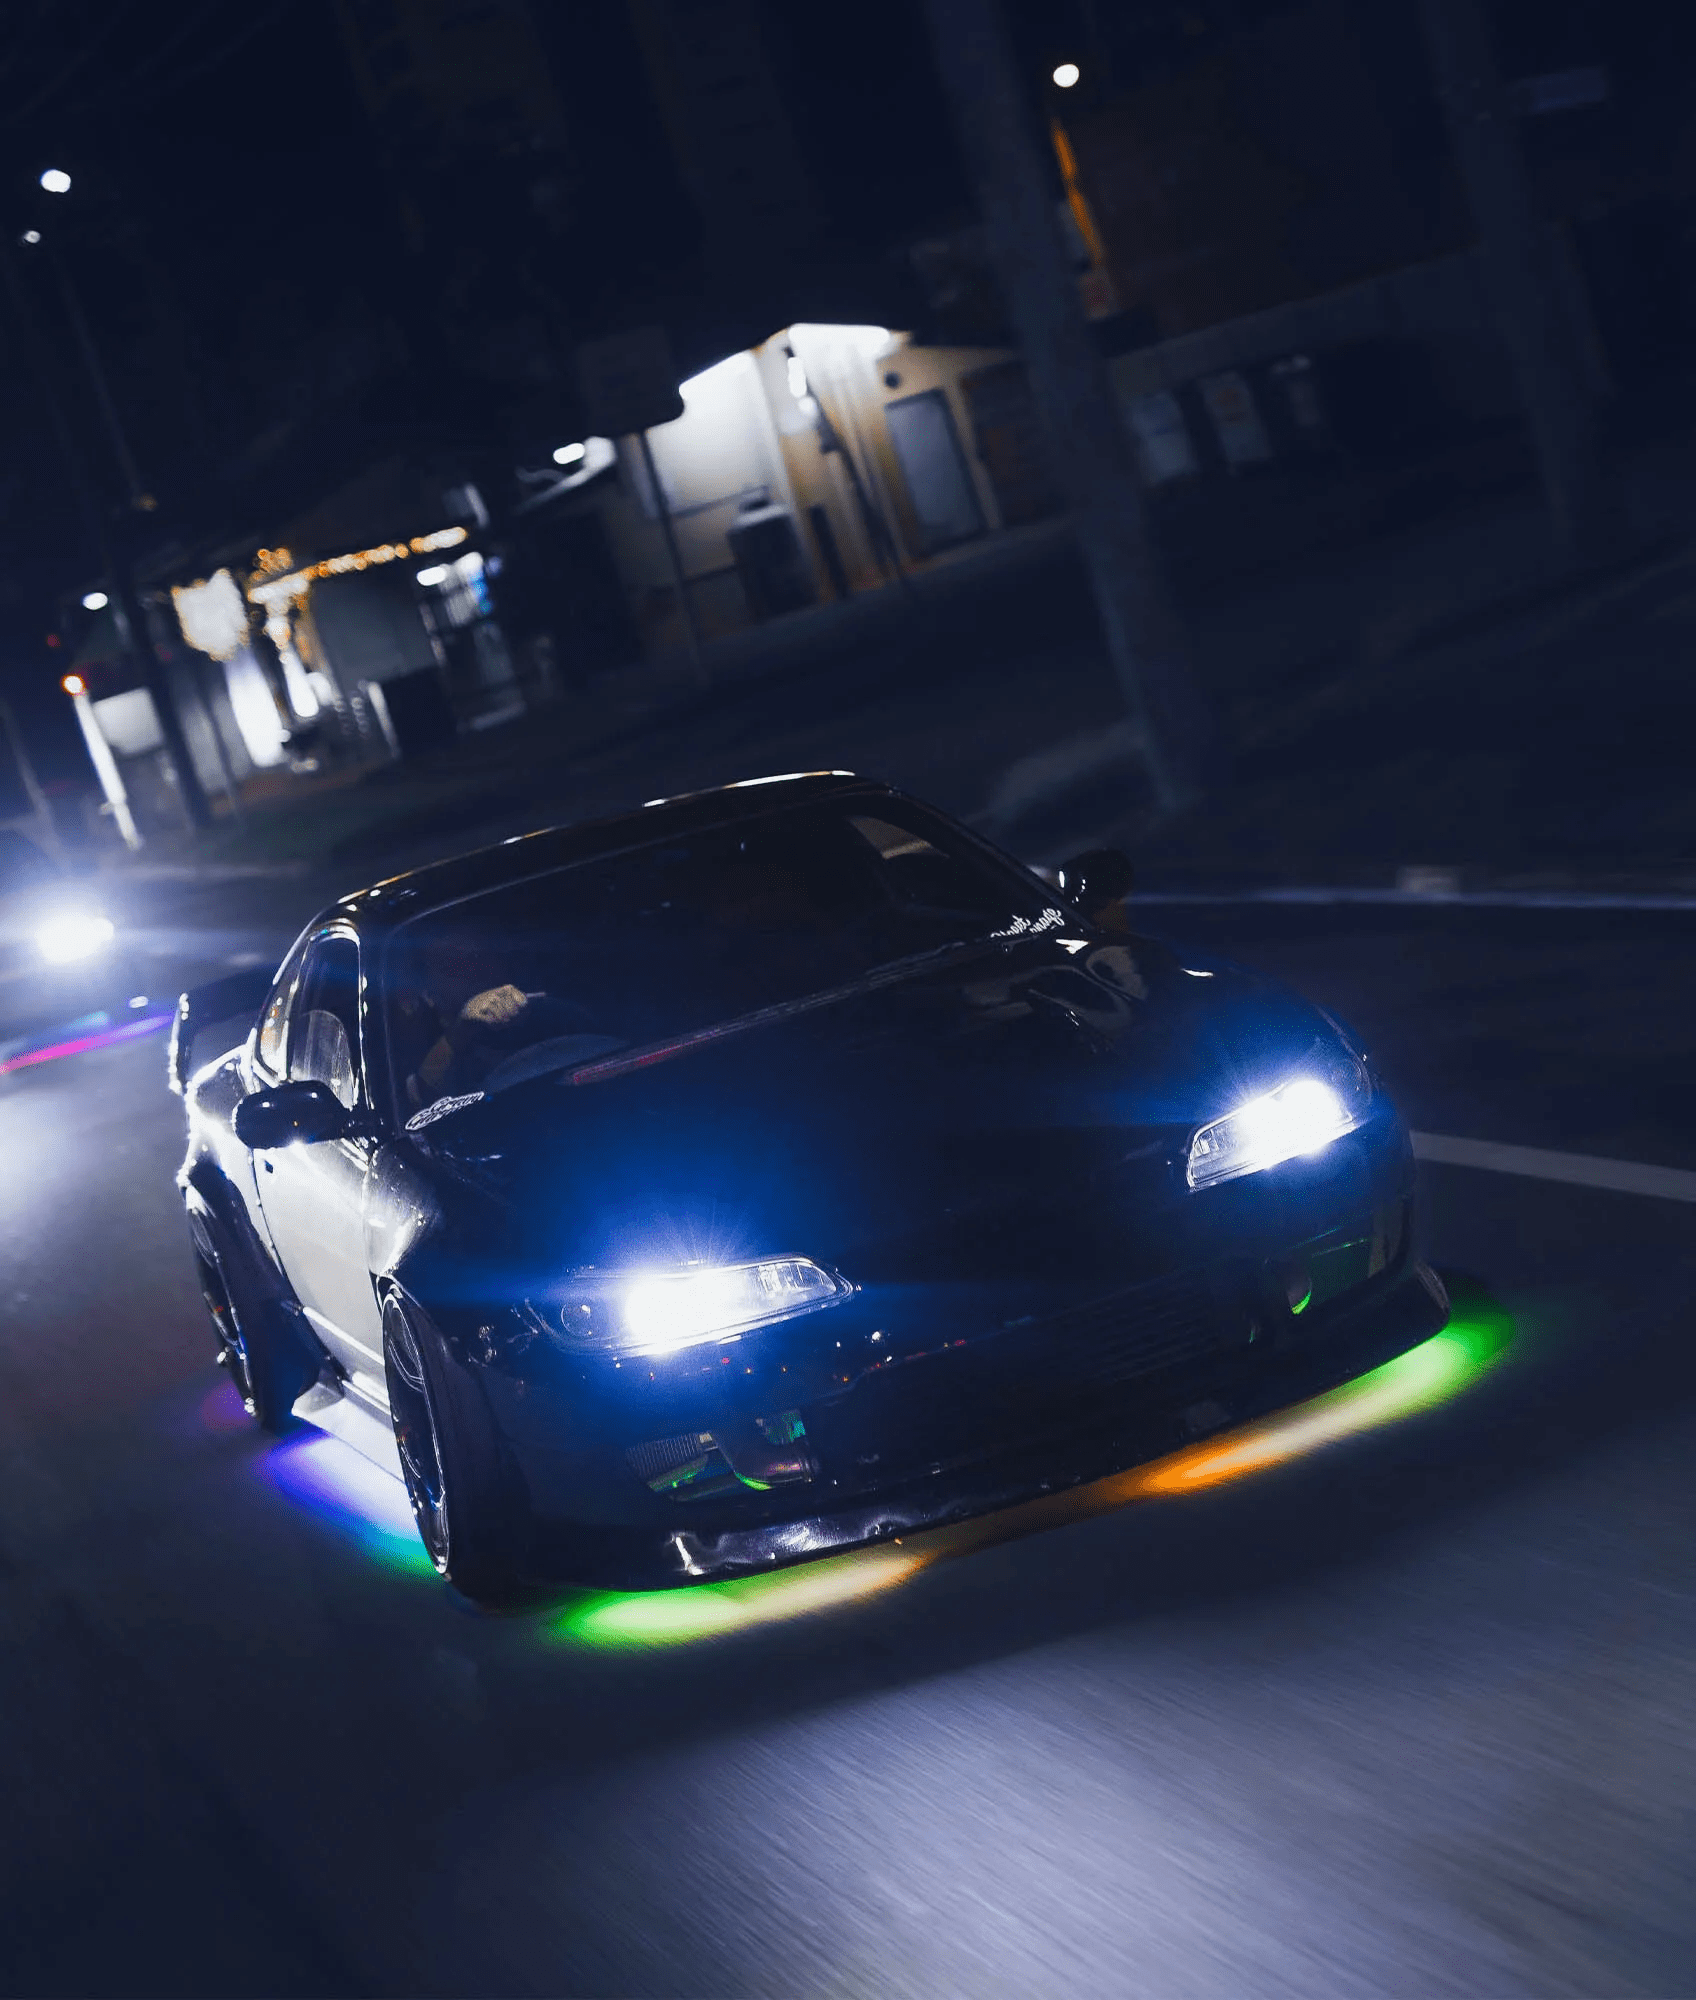
Why Install Under-Car Neon?
- Aesthetic Appeal: Stand out at car meets or night drives.
- Customization: Choose colors like blue, red, or RGB for a personalized look.
- Affordable Upgrade: Kits start at 50–50–150 (e.g., Street Glow Gold Series).

🛠 Tools & Materials
| Icon | Item | Purpose |
|---|---|---|
| 🔦 | Neon Kit | Street Glow, LiteGlow, or OPT7 (RGB options). |
| 🔌 | Wire Strippers & Crimpers | Clean connections. |
| 🛡️ | In-Line Fuse (15A) | Prevent electrical fires. |
| 🔩 | Drill & Screw Gun | Secure mounting brackets. |
| 🧤 | Electrical Tape | Weatherproof splices. |
| 📏 | Zip Ties & Plastic Tubing | Organize and protect wires. |
Cost: 50–50–200 | Time: 3–5 hours
📋 Step-by-Step Installation
1. Plan Your Layout
- Check local laws: Some states ban red/blue underglow.
- Mounting spots: Front/rear bumpers, sides (10–14” from edges).
- Switch placement: Dashboard or center console (easy driver access).
2. Install the Control Switch
- Cut a small hole in the dashboard (use a Dremel for precision).
- Feed wires through the firewall via a rubber grommet.
- Secure the switch with screws or adhesive.
3. Mount Neon Tubes
- Lift the car with jack stands for clearance.
- Attach tubes using included brackets/clamps:
- Front/Rear: 3 clamps per tube.
- Sides: 4 clamps per tube.
- Avoid exhaust/brake lines: Keep tubes 6+ inches away.
4. Wire the Power Converter
- Mount near the firewall (use heat-resistant zones).
- Connect tubes: Splice wires with waterproof connectors.
- Ground the system: Bolt the black wire to the chassis (scratch paint for conductivity).
5. Power Options
| Method | Pros | Cons |
|---|---|---|
| Direct to Battery | Always on (no key needed). | Risk of battery drain. |
| Fuse Box Tap | Powers off with the car. | Requires ignition-on for power. |
🌟 Pro Tips
- Test before finalizing: Plug in tubes to check for breaks or flickering.
- Use dielectric grease on connections to prevent corrosion.
- Add a relay for RGB kits to handle higher power demands.
🚨 Troubleshooting
| Issue | Solution |
|---|---|
| Tubes Not Lighting | Check fuses, ground connections, and switch wiring. |
| Flickering Lights | Secure loose wires or replace damaged tubes. |
| Battery Drain | Install a kill switch or fuse box tap. |
❓ FAQ
Q: Are neon kits legal?
A: Laws vary:
Illegal: Red/blue (reserved for emergency vehicles).
Legal: White/amber in most states (check local regulations).
Q: Can I install neon on a lowered car?
A: Yes—use flexible LED strips (e.g., OPT7 Aura Pro) for durability.
Q: How long do neon tubes last?
A: 2–5 years (LED kits last longer: 5–10 years).
✅ Final Steps
- Test at night: Adjust angles to avoid glare.
- Seal connections: Use liquid electrical tape for moisture resistance.
- Snap a photo: Tag #NeonGlowRide to show off your ride!
(Need a wiring diagram? Comment below!) 🔌🚗✨
🔥 Pro Upgrade: Pair with an RGB remote (20–20–50) for color-changing effects!
Expand Your Automotive Knowledge 📝
Explore 500+ Free Expert-Curated Guides
🚗 Learn New Skills
From basic maintenance to advanced repairs — clear, actionable tutorials for every skill level.
🌍 Access Anywhere
Mobile-friendly guides with HD visuals. No downloads required.
- Guides & Tutorials
- Car Maintenance 101
- Diagnostics & Troubleshooting
- Seasonal Maintenance
- Budget-Friendly Repairs
- Electrical Systems Guide
- Car Safety & Reliability
- Tools & Product Reviews
- Routine Maintenance
- Car Modifications & Upgrades
- Buying/Selling Guides
- Eco-Friendly Car Care
- Advanced Repairs
- Car Laws & Compliance
- Emergency Repairs
- Future Car Tech