Table of Contents
⚠️ DISCLAIMER
Modifying your vehicle’s electrical system carries risks. Disconnect the battery before starting. Consult a professional if unsure. The author is not liable for damages or injuries.
Why Install a Push Button Starter?
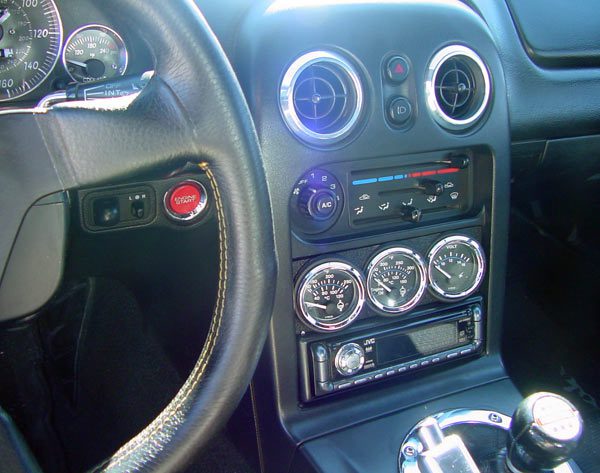
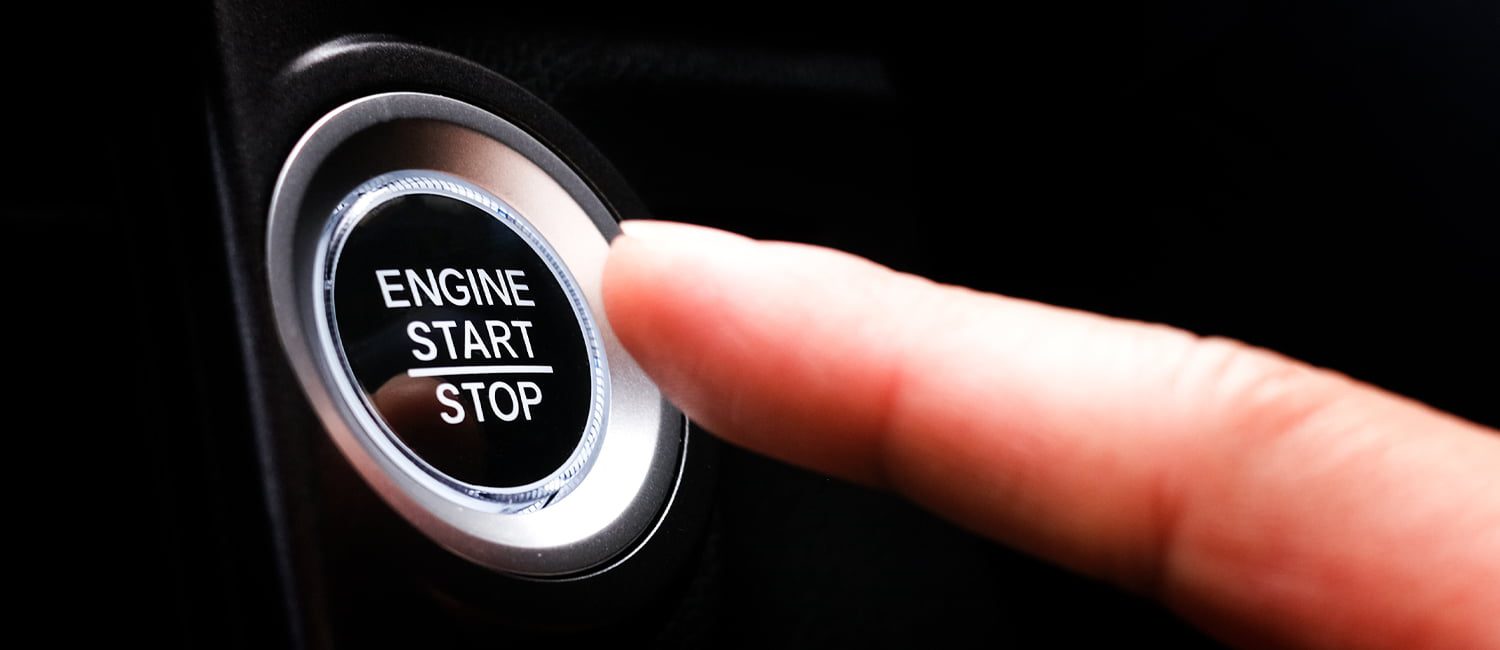
- Modernize Your Ride: Replace clunky keys with a sleek, race-inspired button.
- Convenience: Start your engine with a single press.
- Customization: Choose from LED-backlit or color-matched buttons (e.g., Honda S2000, Mitsubishi Evo styles).

🛠 Tools & Materials
| Icon | Item | Purpose |
|---|---|---|
| 🔘 | Push Button (S2000-style) | Durability and OEM compatibility. |
| 🔌 | SPDT 30A Relay | Safely handle starter current. |
| 🔋 | 20-Gauge Wire | Low-current signal wiring. |
| 🧰 | Wire Strippers & Crimpers | Clean connections. |
| 🛡️ | In-Line Fuse (10A) | Protect against electrical shorts. |
| 🖥️ | 3.5mm Internal Power Connector | Secure button wiring (optional). |
Cost: 50–50–150 | Time: 2–4 hours
📍 Step 1: Choose the Button Location
- Flat, accessible surfaces: Dashboard, center console, or OEM key slot.
- Avoid airbags: Check your vehicle’s manual for safe zones.
- Pro Tip: Use a template to mark the hole size (S2000 button: ~1.5″ diameter).
🔧 Step 2: Prepare the Wiring
- Disconnect the battery to prevent shorts.
- Remove steering column shroud to access ignition wires (Honda example):
- 12V Constant (White): Powers the button.
- Ignition (Black/Yellow): Activates the ignition circuit.
- Starter (Black/White): Engages the starter motor.
🔌 Step 3: Wire the Button
- Connect power and ground:
- 12V Constant (White) → Button Pin 2 (via in-line fuse).
- Ground → Bolt on the chassis (scratch paint for conductivity).
- Relay Setup:
- Pin 30 → Starter Wire (Black/White).
- Pin 85 → Ground.
- Pin 86 → Button Pin 1.
- Pin 87 → Ignition Wire (Black/Yellow).
🔩 Step 4: Mount the Button
- Drill and Dremel: Cut a hole for the button, ensuring a snug fit.
- Secure with epoxy or brackets for vibration resistance.
- Pro Tip: Use rubber grommets to prevent wire chafing.
🚨 Step 5: Test & Troubleshoot
- Reconnect the battery.
- Turn the key to “ON” (do not start).
- Press the button—engine should crank.
- No crank? Check:
- Relay connections.
- Fuse integrity.
- Ground points.
- No crank? Check:
🌟 Pro Tips for Success
- Immobilizer Bypass: For 2001+ Hondas, use an immobilizer emulator (e.g., AP2MOD).
- LED Backlighting: Tap into the dash lighting circuit for nighttime visibility.
- Waterproofing: Seal the button with silicone if exposed to moisture.

📋 Troubleshooting Table
| Issue | Solution |
|---|---|
| Button Doesn’t Light | Check 12V power and ground connections. |
| Starter Clicks, No Crank | Test relay and starter wire continuity. |
| Key Stuck in “ON” | Verify ignition wire isn’t shorted. |
❓ FAQ
Q: Will this work with keyless ignition?
A: Yes, but retain the key fob for steering lock/unlock.
Q: Will this void my warranty?
A: Potentially. Check your manufacturer’s policies.
✅ Final Result
Your car now boasts a race-ready ignition! Tag your project with #PushButtonPerfection to inspire others.
(Need a relay wiring diagram? Comment below!) 🚀🔧
Expand Your Automotive Knowledge 📝
Explore 500+ Free Expert-Curated Guides
🚗 Learn New Skills
From basic maintenance to advanced repairs — clear, actionable tutorials for every skill level.
🌍 Access Anywhere
Mobile-friendly guides with HD visuals. No downloads required.
- Guides & Tutorials
- Car Maintenance 101
- Diagnostics & Troubleshooting
- Seasonal Maintenance
- Budget-Friendly Repairs
- Electrical Systems Guide
- Car Safety & Reliability
- Tools & Product Reviews
- Routine Maintenance
- Car Modifications & Upgrades
- Buying/Selling Guides
- Eco-Friendly Car Care
- Advanced Repairs
- Car Laws & Compliance
- Emergency Repairs
- Future Car Tech


