Table of Contents
⚠️ DISCLAIMER
Modifying your vehicle’s electrical system carries risks. Proceed at your own risk. Consult a professional if unsure. The author is not liable for damages or injuries.
Why Install an Indiglo Dimmer?
- Customizable Aesthetics: Adjust backlight brightness for a sleek, modern look.
- Improved Night Visibility: Reduce glare while driving in low-light conditions.
- DIY Satisfaction: Upgrade your interior for under $20 in parts.

🛠 Tools & Materials Needed
| Icon | Item | Purpose |
|---|---|---|
| 🔩 | Phillips Screwdriver | Remove dashboard panels. |
| 🔌 | Wire Strippers/Cutters | Splice and connect wires. |
| 🧪 | Multimeter | Test voltage and avoid wiring errors. |
| 🖇️ | Electrical Tape | Insulate connections. |
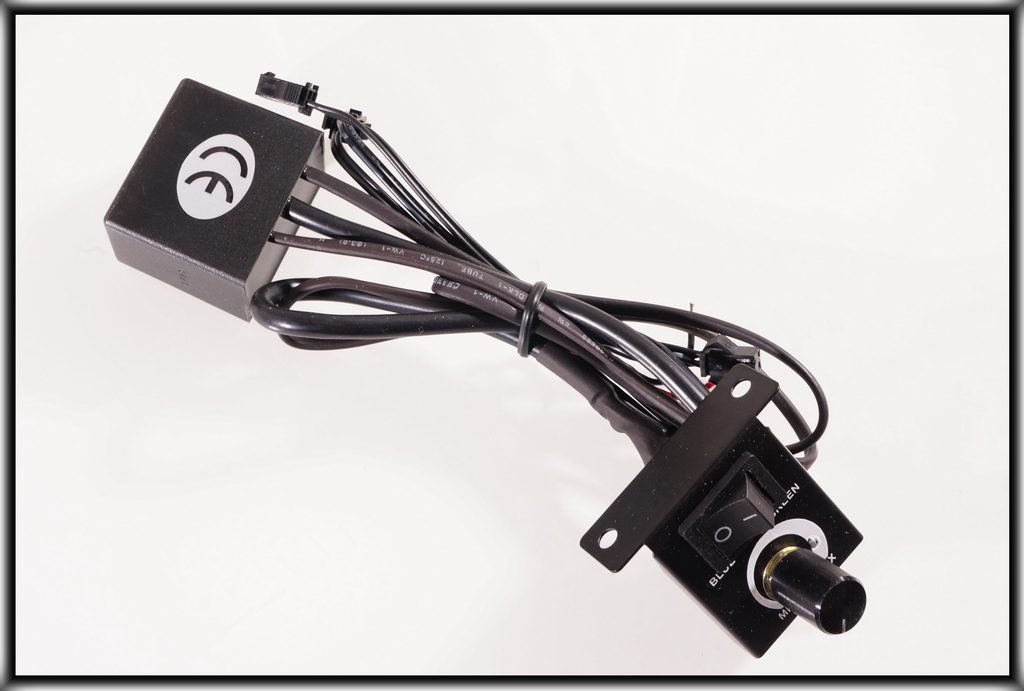
| 📏 | Indiglo Dimmer Kit | Includes module, wires, and switch. |
Cost: 15–15–30 (depending on kit quality).
📋 Step-by-Step Installation Guide
1. Remove the Gauge Cluster
- Disconnect the battery to prevent shorts.
- Unscrew dashboard panels to access the gauge cluster.
- Locate the 3-pin connector (often blue or black) on the cluster’s lower left.
2. Identify the Dimmer Wire
- Test the red wire: Use a multimeter to confirm it reads 0V with lights on and +12V when dimmed.
- Cut and strip the red wire, then connect it to the ground wire on the Indiglo module.
3. Modify the Rotary Dimmer Switch
- Locate the dimmer switch wiring harness (usually near the steering column).
- Cut the two small wires in the bundle leading to the switch.
- Splice them together to bypass the factory dimmer.
4. Connect the Indiglo Module
- Ground the module: Attach its black wire to a metal chassis bolt.
- Power the module: Connect the red wire to a switched +12V source (e.g., ignition fuse).
5. Optional: Hardwire for Constant Color
- Bypass the switch: Connect the middle wires on the Indiglo switch to the desired side (e.g., blue or green).
- Secure connections with solder or crimp connectors, then insulate with heat shrink tubing.
6. Reassemble and Test
- Reinstall the gauge cluster and panels.
- Reconnect the battery and test the dimmer at different settings.
🔧 Pro Tips for Success
- Label wires with tape to avoid confusion during reassembly.
- Use a fuse tap for a clean +12V connection instead of splicing factory wires.
- Apply dielectric grease to connections to prevent corrosion.
🚨 Troubleshooting Common Issues
| Problem | Solution |
|---|---|
| Lights Not Turning On | Check ground connections and fuse taps. |
| Flickering Lights | Re-secure wire splices and test voltage. |
| Dimmer Switch Unresponsive | Verify factory dimmer wires are spliced correctly. |
❓ FAQ: Your Indiglo Questions Answered
Q: Will this drain my battery?
A: No—the module only draws power when the ignition is on.
Q: Can I install this without removing the cluster?
A: Not recommended. Full access ensures safe wiring.
Q: Are Indiglo kits legal?
A: Most are DOT-compliant if they don’t emit red/blue light. Check local laws.
🌟 Why This Mod Rocks
- Personalization: Match your dashboard to your car’s LED accents.
- Resale Value: Clean, modern interiors attract buyers.
✅ Final Steps
- Wax the dashboard to remove fingerprints post-install.
- Join forums like Reddit’s r/CarMods to showcase your work!
Now, enjoy your pro-level dashboard glow-up! 🚗💡

Expand Your Automotive Knowledge 📝
Explore 500+ Free Expert-Curated Guides
🚗 Learn New Skills
From basic maintenance to advanced repairs — clear, actionable tutorials for every skill level.
🌍 Access Anywhere
Mobile-friendly guides with HD visuals. No downloads required.
- Guides & Tutorials
- Car Maintenance 101
- Diagnostics & Troubleshooting
- Seasonal Maintenance
- Budget-Friendly Repairs
- Electrical Systems Guide
- Car Safety & Reliability
- Tools & Product Reviews
- Routine Maintenance
- Car Modifications & Upgrades
- Buying/Selling Guides
- Eco-Friendly Car Care
- Advanced Repairs
- Car Laws & Compliance
- Emergency Repairs
- Future Car Tech