Table of Contents
⚠️ Safety & Disclaimer:
Modify your vehicle at your own risk. Wear gloves and eye protection. Accuracy of steps may vary by car model. Always test-fit parts before final installation.
Why Install Custom Grilles?
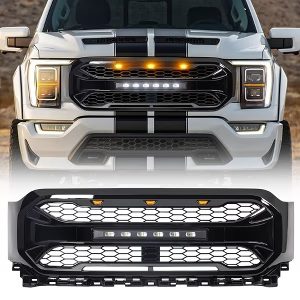
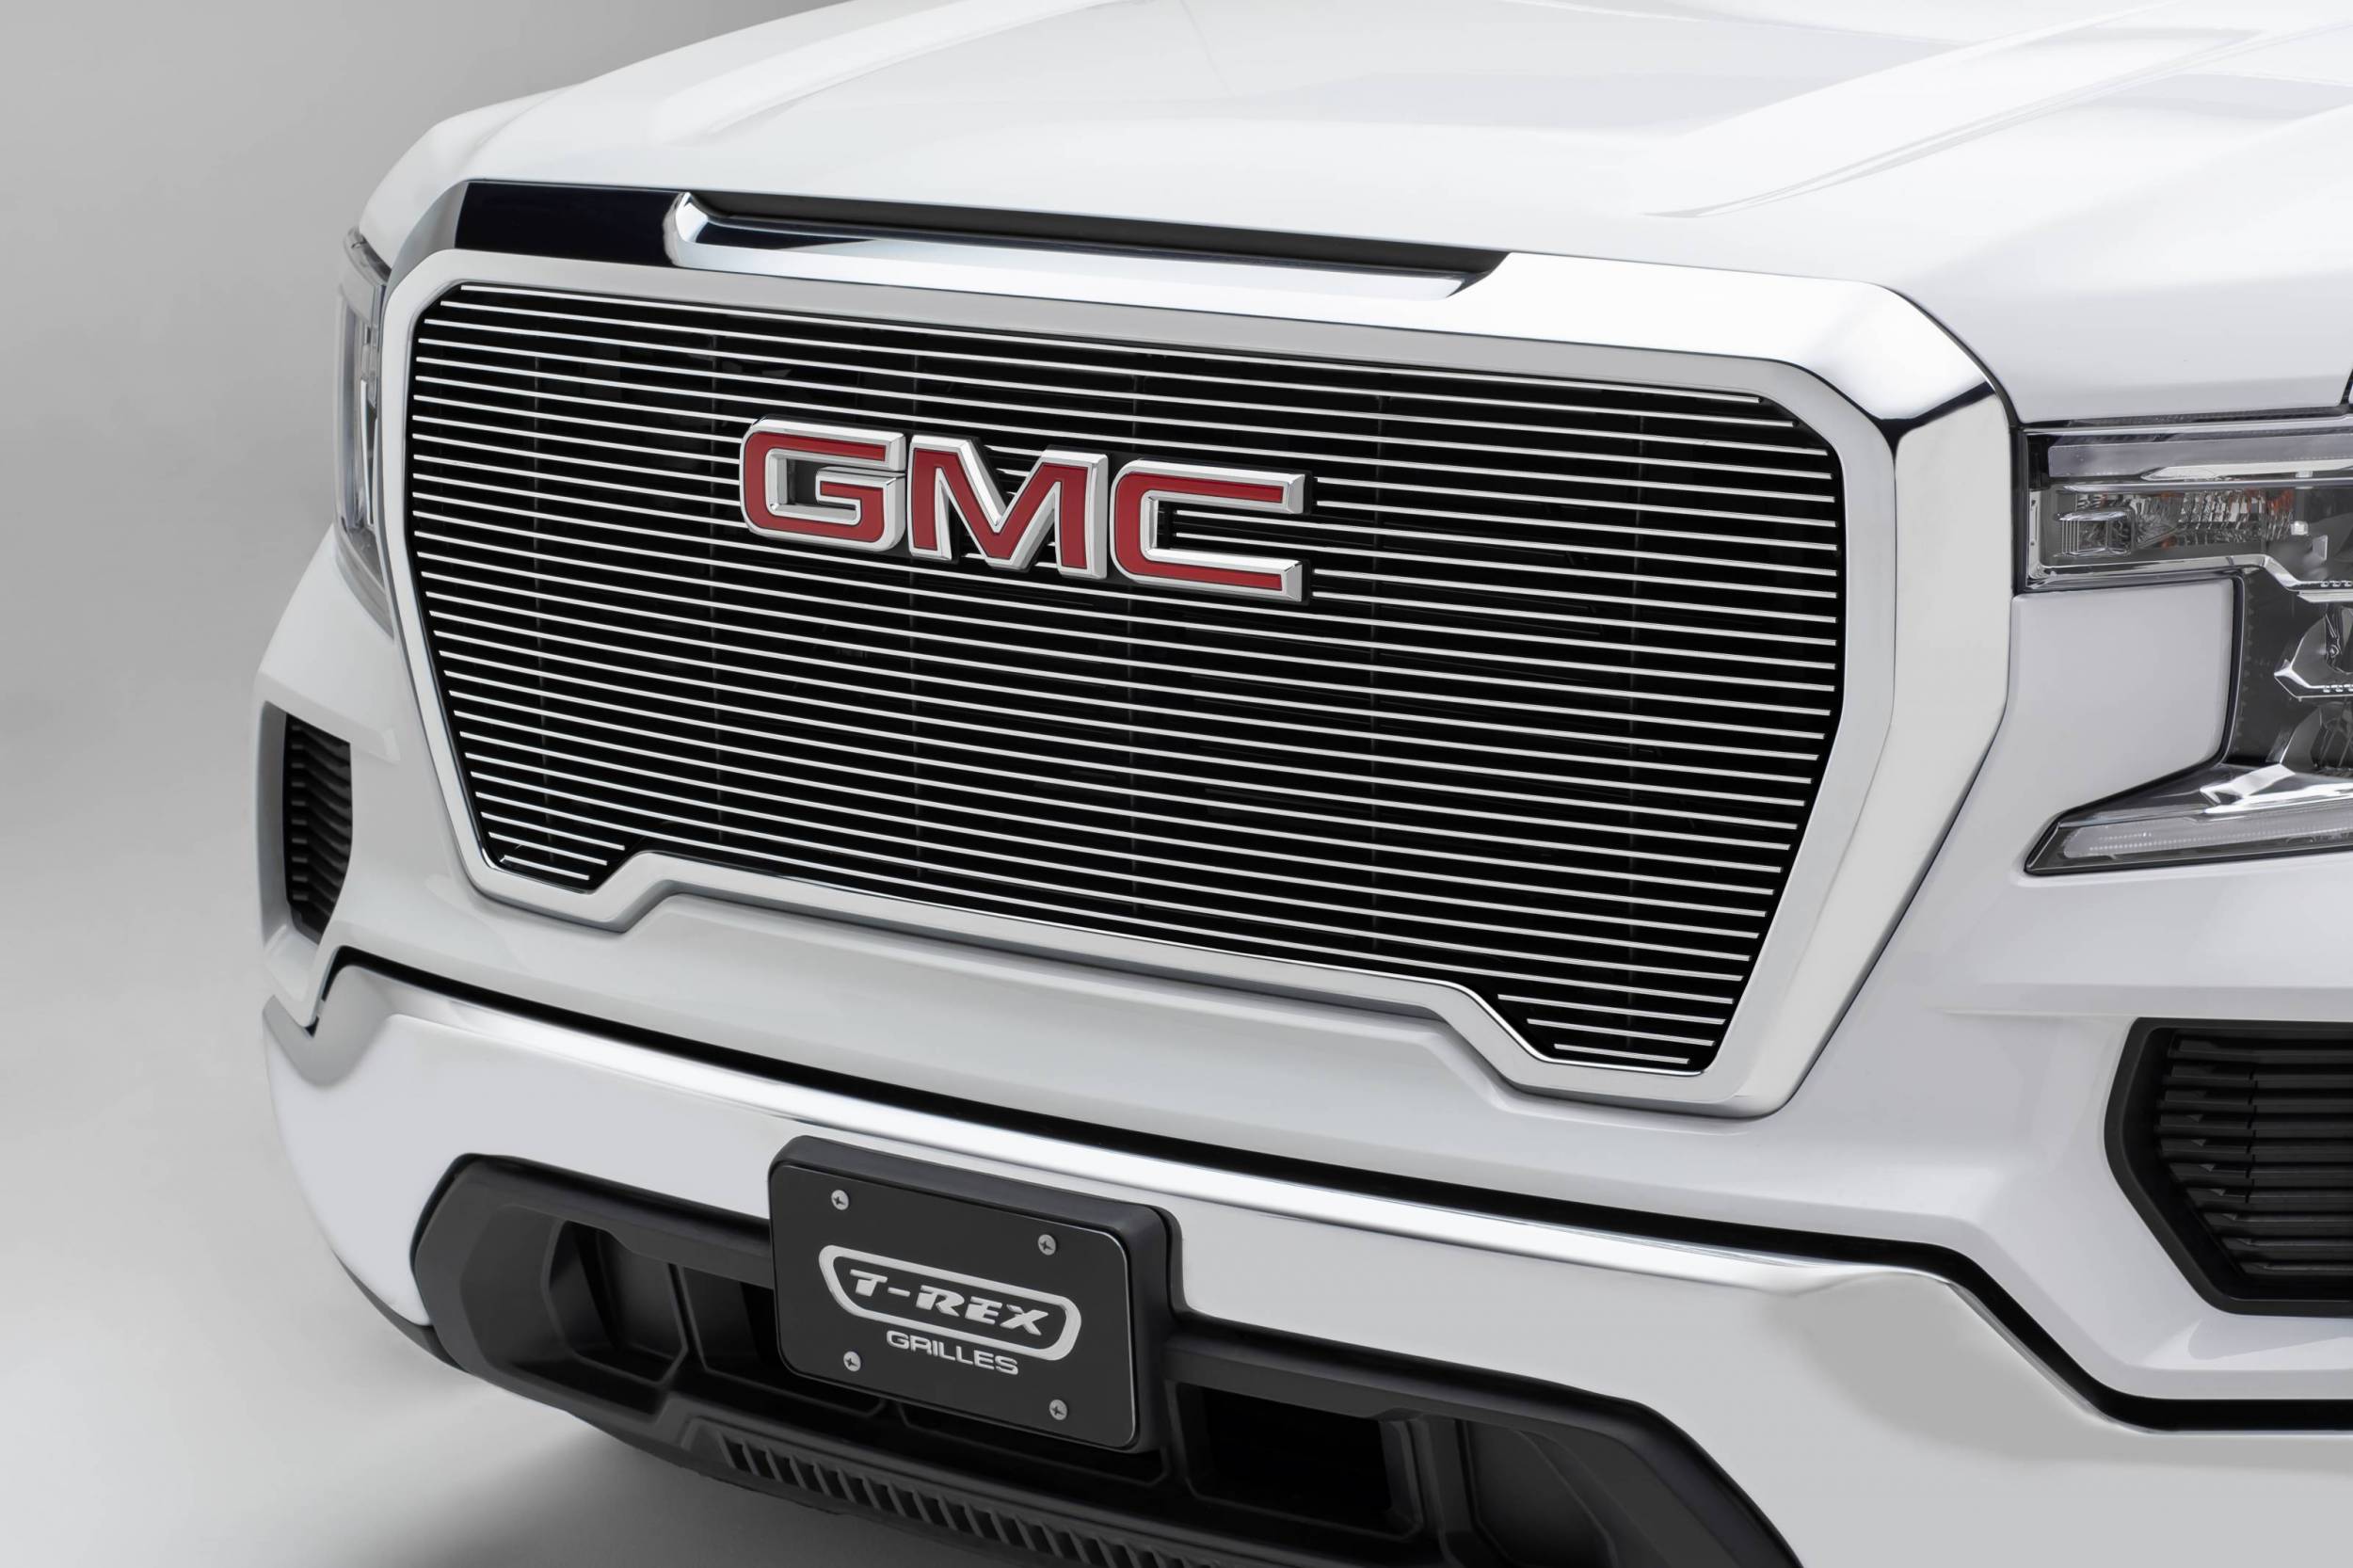
Custom grilles add a sleek, aggressive look to your car while improving airflow. This guide walks you through installing expanded steel mesh grilles, perfect for enthusiasts wanting a rugged, personalized front end.

Tools & Materials
| Item | Purpose |
|---|---|
| Expanded Steel Mesh | 1/4″ thickness (available at welding shops). |
| Tin Snips/Dremel | Cutting mesh and trimming plastic. |
| Screwdrivers | Phillips and flathead for bumper removal. |
| 8mm & 10mm Sockets | Remove bumper bolts. |
| Liquid Nails Adhesive | Secure mesh without welding. |
| Rustoleum Paint | Durable finish (primer + color + clear coat). |
| Cardboard | Create templates for precise cuts. |
Step 1: Remove the Bumper
- Pop plastic plugs: Use a flathead to remove 8 plugs along the top grille.
- Unscrew bolts:
- Fender wells: Two 8mm screws per side.
- Underside: Four 10mm bolts (two center, two outer).
- Gently pull the bumper forward and set it on a soft surface.
Step 2: Disassemble Factory Grilles
- Upper grille: Remove screws on the back, then separate the two plastic pieces.
- Lower grille: Cut horizontal/vertical supports with a Dremel or razor knife.
- Pro Tip: Keep the license plate bracket if required in your state.
- Brake ducts: Carefully cut plastic ducts with a razor knife. Go slow to avoid gashes!
Step 3: Create Mesh Templates
- Trace openings: Use cardboard to outline grille and duct shapes.
- Transfer to mesh: Add 1–2″ tabs around edges for securing.
- Test fit: Trim as needed until mesh sits flush.
Step 4: Prep & Paint the Mesh
- Clean thoroughly: Scrub with Simple Green and a wire brush.
- Paint:
- Apply 2–3 coats of Rustoleum primer.
- Follow with 8–10 coats of color + clear coat.
- Let dry 24 hours.
Step 5: Install Custom Grilles
Upper Grille
- Sandwich mesh between factory grille halves.
- Secure with original screws.
Lower Grille & Brake Ducts
- Bend tabs: Hook mesh tabs around bumper edges.
- Glue: Apply Liquid Nails to tabs and press firmly.
- Screw: Add 1/2″ screws to lower grille for extra hold.
Step 6: Reattach the Bumper
- Reinstall styrofoam support: Secure with electrical tape.
- Bolt bumper back: Reverse removal steps.
Pro Tips for Success
- Waterproofing: No issues with rain, but clean AEM filters more often.
- Avoid Rust: Use rust-resistant paint and seal edges.
- Patience Pays: Let adhesive cure 24 hours before driving.
FAQ: Your Grille Questions Answered
Q: Will this affect engine cooling?
A: Expanded steel improves airflow vs. stock plastic. Monitor temps if you track your car.
Q: Can I use aluminum mesh?
A: Yes, but steel is sturdier for highway driving.
Q: What if my mesh doesn’t fit?
A: Trim tabs smaller or use zip ties as backup.
Q: Is Liquid Nails heat-resistant?
A: Yes—rated for high temps, but avoid direct engine contact.
Conclusion
Transform your car’s front end with custom grilles for under $100! Share your build online, and tag us—we’d love to see your ride’s new attitude.
Expand Your Automotive Knowledge 📝
Explore 500+ Free Expert-Curated Guides
🚗 Learn New Skills
From basic maintenance to advanced repairs — clear, actionable tutorials for every skill level.
🌍 Access Anywhere
Mobile-friendly guides with HD visuals. No downloads required.
- Guides & Tutorials
- Car Maintenance 101
- Diagnostics & Troubleshooting
- Seasonal Maintenance
- Budget-Friendly Repairs
- Electrical Systems Guide
- Car Safety & Reliability
- Tools & Product Reviews
- Routine Maintenance
- Car Modifications & Upgrades
- Buying/Selling Guides
- Eco-Friendly Car Care
- Advanced Repairs
- Car Laws & Compliance
- Emergency Repairs
- Future Car Tech


