Table of Contents
Unlock Your Engine’s Potential with Cooler, Cleaner Air—A Step-by-Step Guide to Boosting Horsepower and Efficiency!
1. Why Install a Cold Air Intake? ⚡
A cold air intake (CAI) upgrades your engine’s airflow system by:
- Drawing cooler air: Dense, oxygen-rich air improves combustion for more power.
- Reducing restriction: Smooth, wide pipes replace stock airboxes for better airflow.
- Enhancing throttle response: Quicker acceleration and a throatier engine sound.
- Boosting MPG: Efficient combustion can improve fuel economy by 3–5% (varies by vehicle).
Key Stat: A quality CAI can add 5–15 horsepower on naturally aspirated engines (SAE study).

2. Tools & Materials You’ll Need 🧰
- Cold air intake kit (vehicle-specific).
- Socket set (8mm–14mm sockets).
- Screwdrivers (Phillips/flathead).
- Torx bits (if required for your car).
- Safety gloves and eye protection.
- Rubbing alcohol and microfiber cloth (for cleaning sensors).
Pro Tip: Buy a kit with a heat shield or hydro sock to block engine heat/water.
3. Pre-Installation Prep 🛠️
- Disconnect the battery: Prevent electrical shorts (negative terminal first).
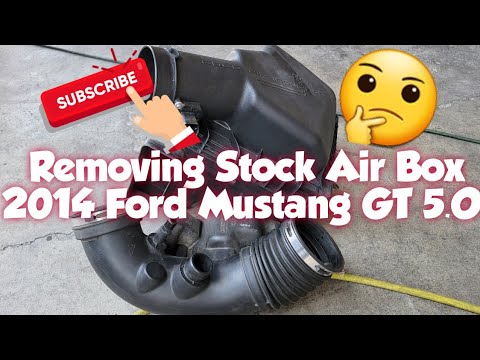
- Remove the stock airbox:
- Unclip the air filter lid.
- Detach mass airflow (MAF) sensor wiring.
- Loosen clamps and remove intake tubing.
- Clean the MAF sensor: Spray with MAF cleaner—don’t touch the delicate wires!
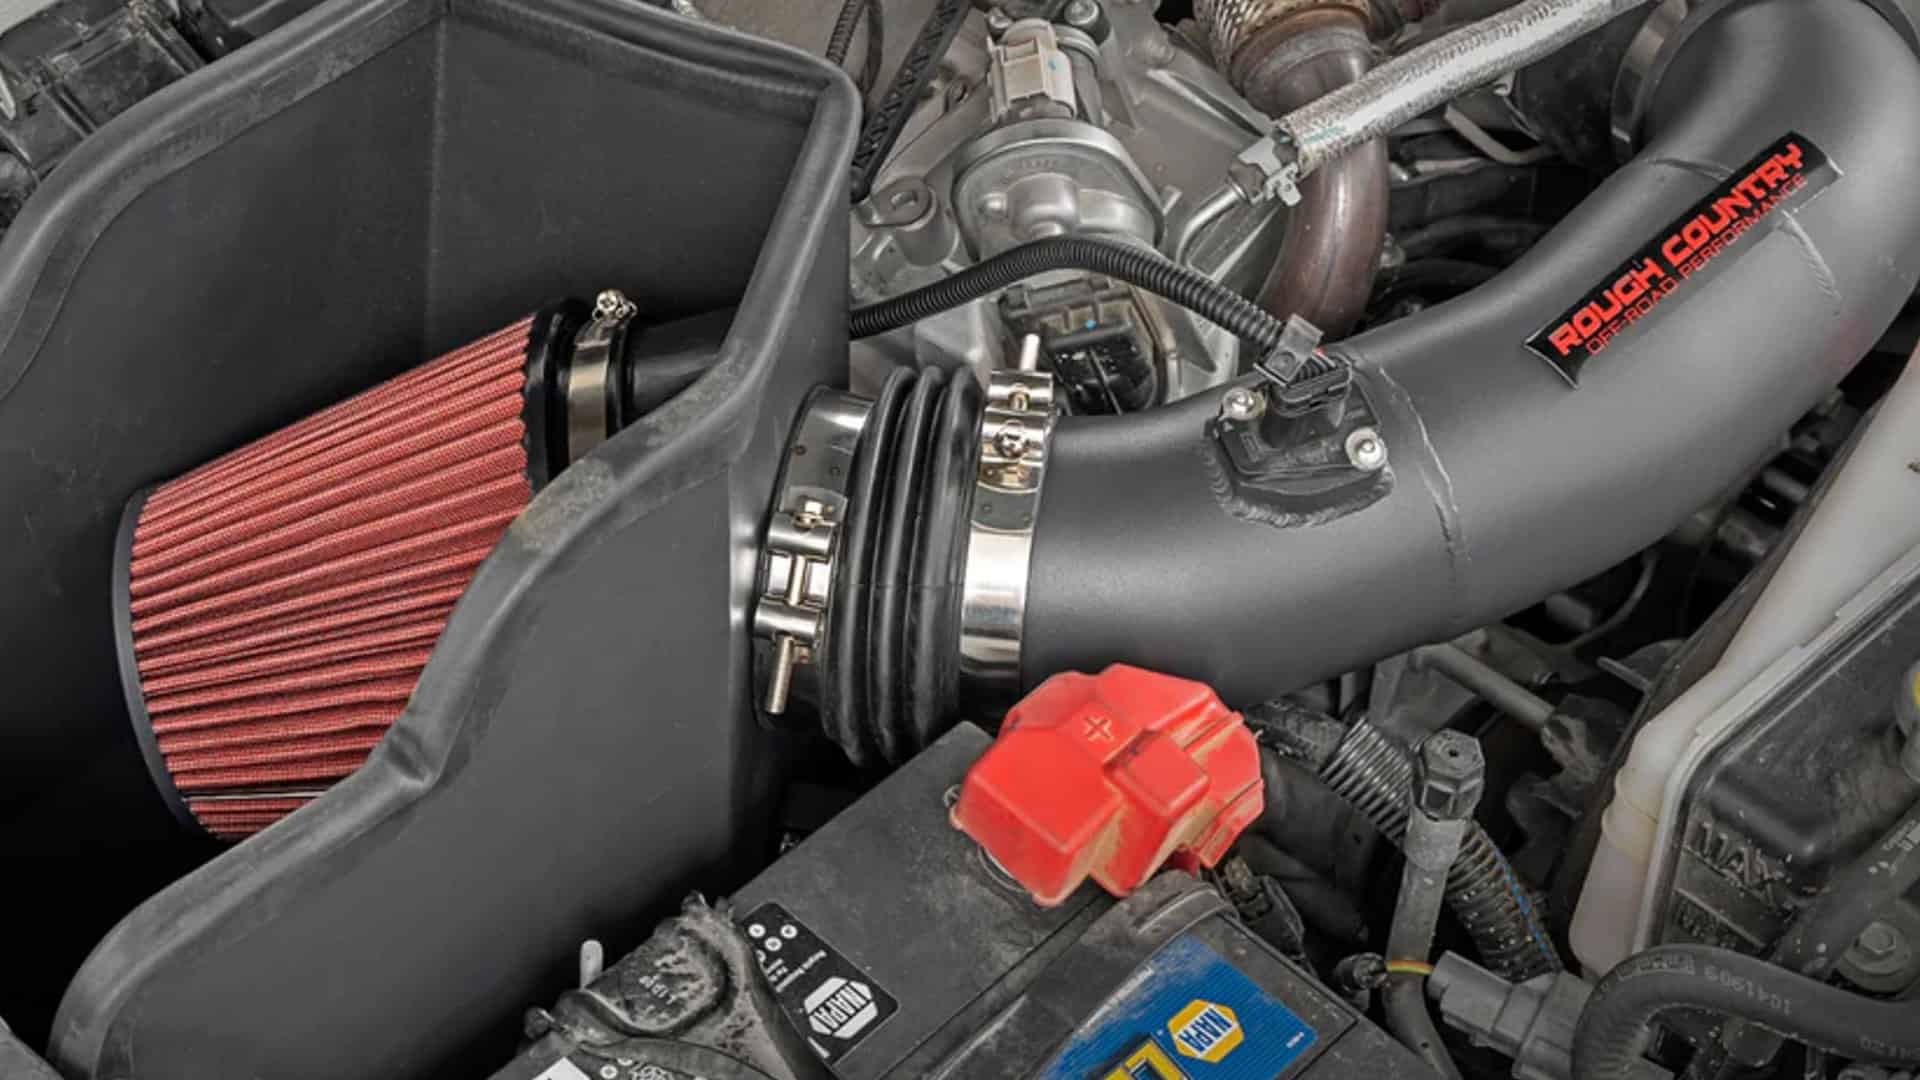
4. Step-by-Step Installation Guide 🔧
Step 1: Install the New Intake Tube
- Attach the MAF sensor to the new tube (align arrows/notches).
- Secure with provided screws or clamps.
Step 2: Mount the Air Filter
- Slide the filter onto the tube (use silicone grease for a tight seal).
- Position it away from engine heat (e.g., near the fender well).
Step 3: Attach the Heat Shield (if included)
- Bolt it to the chassis to isolate the filter from hot engine air.
Step 4: Reconnect Components
- Plug the MAF sensor back in.
- Double-check all clamps and fittings are tight.
5. Post-Installation Checks ✅
- Inspect for leaks: Ensure no loose connections.
- Reset the ECU: Disconnect the battery for 10 mins to clear old airflow data.
- Test drive: Listen for unusual sounds and check for check engine lights.
Pro Tip: Use an OBD-II scanner to monitor air/fuel ratios for optimal performance.
6. Common Mistakes to Avoid 🚫
- Ignoring MAF sensor alignment: Misalignment causes incorrect airflow readings.
- Placing the filter near heat sources: Defeats the purpose of “cold” air.
- Skipping the heat shield: Hot air reduces performance gains.
- Over-tightening clamps: Can crack intake tubing.

7. Performance Expectations & Legal Notes ⚖️
- HP gains: Most noticeable in high-RPM driving (e.g., highway merging).
- Sound: Expect a deeper growl during acceleration.
- Legality: Some states (e.g., California) restrict aftermarket intakes. Check local emissions laws!

8. Top Cold Air Intake Brands 🏆
| Brand | Best For | Avg. Cost |
|---|---|---|
| K&N | Daily drivers | 250–400 |
| AEM | Tuner cars | 200–350 |
| Injen | Turbocharged engines | 300–500 |
| Spectre | Budget builds | 150–250 |
9. FAQs ❓
Q1: Will a CAI void my warranty?
A: Not unless it directly causes damage (Magnuson-Moss Act protects you).
Q2: Can I install a CAI without tuning?
A: Yes, but a tune maximizes gains (especially on turbocharged engines).
Q3: How often should I clean the filter?
A: Every 25k–50k miles (or per manufacturer’s advice).
Q4: Does a CAI work in the rain?
A: Yes—hydro socks prevent water ingestion, but avoid deep puddles.
Q5: Why is my check engine light on after install?
A: Likely a loose MAF sensor connection. Recheck wiring!
10. Pro Tips for Maximum Gains 💡
- Pair with an exhaust upgrade: Free up airflow in and out.
- Use a high-flow air filter: Oiled cotton > paper filters.
- Seal gaps around the heat shield: Foil tape blocks residual heat.
11. Free Installation Checklist PDF 📝
[🔗 Download Your Free Guide Here]
Includes:
- Tool checklist.
- Torque specs for clamps.
- Post-install troubleshooting.
Expand Your Automotive Knowledge 📝
Explore 500+ Free Expert-Curated Guides
🚗 Learn New Skills
From basic maintenance to advanced repairs — clear, actionable tutorials for every skill level.
🌍 Access Anywhere
Mobile-friendly guides with HD visuals. No downloads required.
- Guides & Tutorials
- Car Maintenance 101
- Diagnostics & Troubleshooting
- Seasonal Maintenance
- Budget-Friendly Repairs
- Electrical Systems Guide
- Car Safety & Reliability
- Tools & Product Reviews
- Routine Maintenance
- Car Modifications & Upgrades
- Buying/Selling Guides
- Eco-Friendly Car Care
- Advanced Repairs
- Car Laws & Compliance
- Emergency Repairs
- Future Car Tech