Table of Contents
Don’t Let a Bumpy Ride Turn into a Costly Disaster—Learn to Diagnose and Fix Suspension Issues Like a Pro!
1. Why Suspension Health Matters ⚠️
Your car’s suspension is its backbone, absorbing shocks and keeping you stable. Ignoring worn parts leads to:
- Safety risks: Poor handling increases rollover and collision risks.
- Premature tire wear: Misalignment wears tires 30% faster.
- Costly repairs: A failed strut can damage axles, CV joints, or even the frame.
Key Stat: 20% of vehicles on the road have worn suspension components (NHTSA).

2. 6 Signs Your Suspension Is Failing 🚨
- Bouncing or Swerving: The car dips forward after braking or sways on turns.
- Knocking Noises: Clunks over bumps (worn bushings or ball joints).
- Uneven Tire Tread: Bald patches on inner/outer edges.
- Fluid Leaks: Oily residue on shocks/struts.
- Pulling to One Side: Misalignment from worn control arms.
- Visible Rust/Cracks: Corrosion on springs or linkages.
Pro Tip: Test the “bounce test”—press down on each corner. If it bounces >2x, shocks are weak.
3. Tools You’ll Need for Inspection 🧰
- Jack and jack stands
- Flashlight
- Pry bar
- Torque wrench
- Tire tread gauge
- Cost: Basic toolkit (50–150) vs. professional scan tool ($200+).
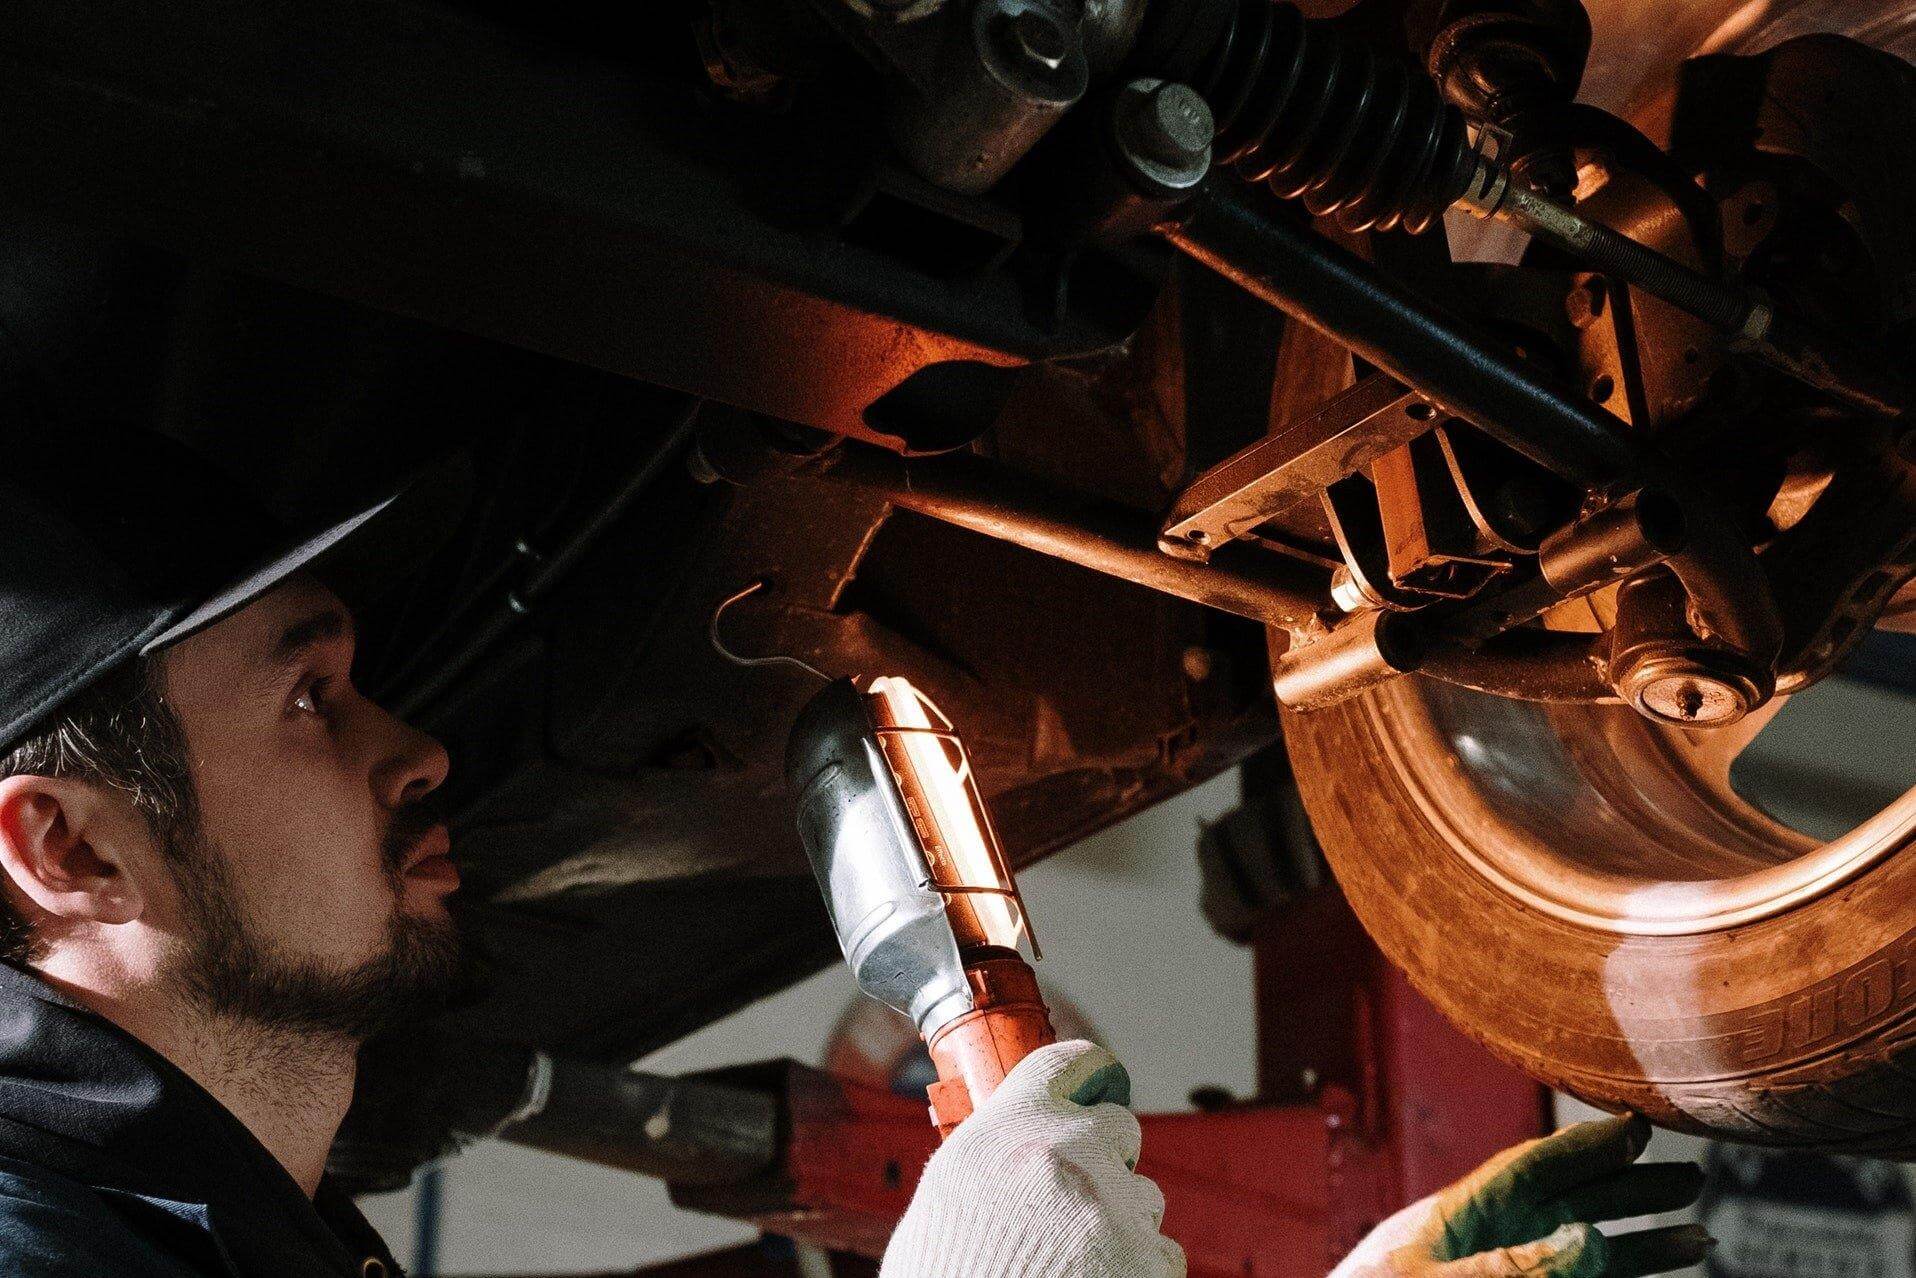
4. Step-by-Step Suspension Inspection Guide 🔍
Step 1: Visual Check
- Look for leaks: Shocks/struts should be dry.
- Inspect bushings: Cracks or gaps mean replacement.
- Check springs: Rust or sagging? Replace ASAP!

Step 2: Test for Play
- Ball joints: Lift the wheel and wiggle it (9 & 3 o’clock). Movement = worn joint.
- Tie rods: Shake the wheel at 12 & 6 o’clock. Play indicates tie rod wear.
- Control arms: Use a pry bar to check bushing flexibility.
Warning: Never skip wheel chocks—safety first! ⚠️
Step 3: Measure Tire Wear
Use a tread gauge. Uneven wear? Suspect alignment or worn strut mounts.
Pro Tip: Mark bolts with paint before disassembly for easier reassembly.
5. How to Replace Common Suspension Parts 🛠️
① Shocks/Struts
- Lift the car and remove the wheel.
- Unbolt the shock/strut (top mount and lower linkage).
- Use a spring compressor to swap springs onto the new strut.
- Torque bolts to spec (e.g., 50–70 ft-lbs for most cars).
Cost: 80–200 per strut (DIY) vs. $500+ (mechanic).

② Control Arms
- Remove the ball joint nut and separate it from the knuckle.
- Unbolt the control arm from the frame.
- Install the new arm and torque bolts.
Pro Tip: Replace bushings and ball joints together to save labor.
③ Sway Bar Links
- Unbolt the link from the sway bar and control arm.
- Install the new link—ensure it’s snug but not overtightened.
6. Consequences of Delaying Repairs 💸
- Alignment costs: 100–300 per session.
- Tire replacement: 400–800 for a set.
- Accident risks: NHTSA links 12% of crashes to suspension failure.

7. Top 5 Suspension Repair Tools 🛒
| Tool | Price | Best For |
|---|---|---|
| OTC Strut Spring Compressor | $90 | Safe spring removal |
| Tekton Torque Wrench | $60 | Precise bolt tightening |
| Lisle Ball Joint Press | $45 | Replacing joints |
| Powerbuilt Hub Grappler | $30 | Separating stuck ball joints |
| OEM Control Arm Kit | 120–300 | Full arm replacement |
8. FAQs ❓
Q1: How often should I inspect my suspension?
A: Every 12,000 miles or if you notice handling changes.
Q2: Can I drive with a broken suspension spring?
A: No! It can puncture tires or cause sudden loss of control.
Q3: Why does my car vibrate at high speeds?
A: Worn bushings, unbalanced tires, or bent control arms.
Q4: How long do suspension parts last?
A: Shocks/struts: 50k–100k miles; bushings: 80k miles.
Q5: Do I need an alignment after replacing parts?
A: Yes—always align after suspension work.
9. Free Suspension Inspection Checklist 📝
[🔗 Download Your Free PDF Here]
Includes:
- 10-point inspection guide.
- Torque specs for common models.
- Emergency repair tips.

Final Tips 💡
- Upgrade for heavy loads: Install heavy-duty shocks if you tow.
- Avoid potholes: They bend control arms and crack springs.
- Lubricate bushings: Use silicone spray to slow dry-rot.
🚙 Share this guide to help friends avoid suspension disasters! 🚙
Expand Your Automotive Knowledge 📝
Explore 500+ Free Expert-Curated Guides
🚗 Learn New Skills
From basic maintenance to advanced repairs — clear, actionable tutorials for every skill level.
🌍 Access Anywhere
Mobile-friendly guides with HD visuals. No downloads required.
- Guides & Tutorials
- Car Maintenance 101
- Diagnostics & Troubleshooting
- Seasonal Maintenance
- Budget-Friendly Repairs
- Electrical Systems Guide
- Car Safety & Reliability
- Tools & Product Reviews
- Routine Maintenance
- Car Modifications & Upgrades
- Buying/Selling Guides
- Eco-Friendly Car Care
- Advanced Repairs
- Car Laws & Compliance
- Emergency Repairs
- Future Car Tech