Table of Contents
Stop Brake Pulsation—Learn DIY Fixes, Save Money, and Restore Smooth Stopping Power!
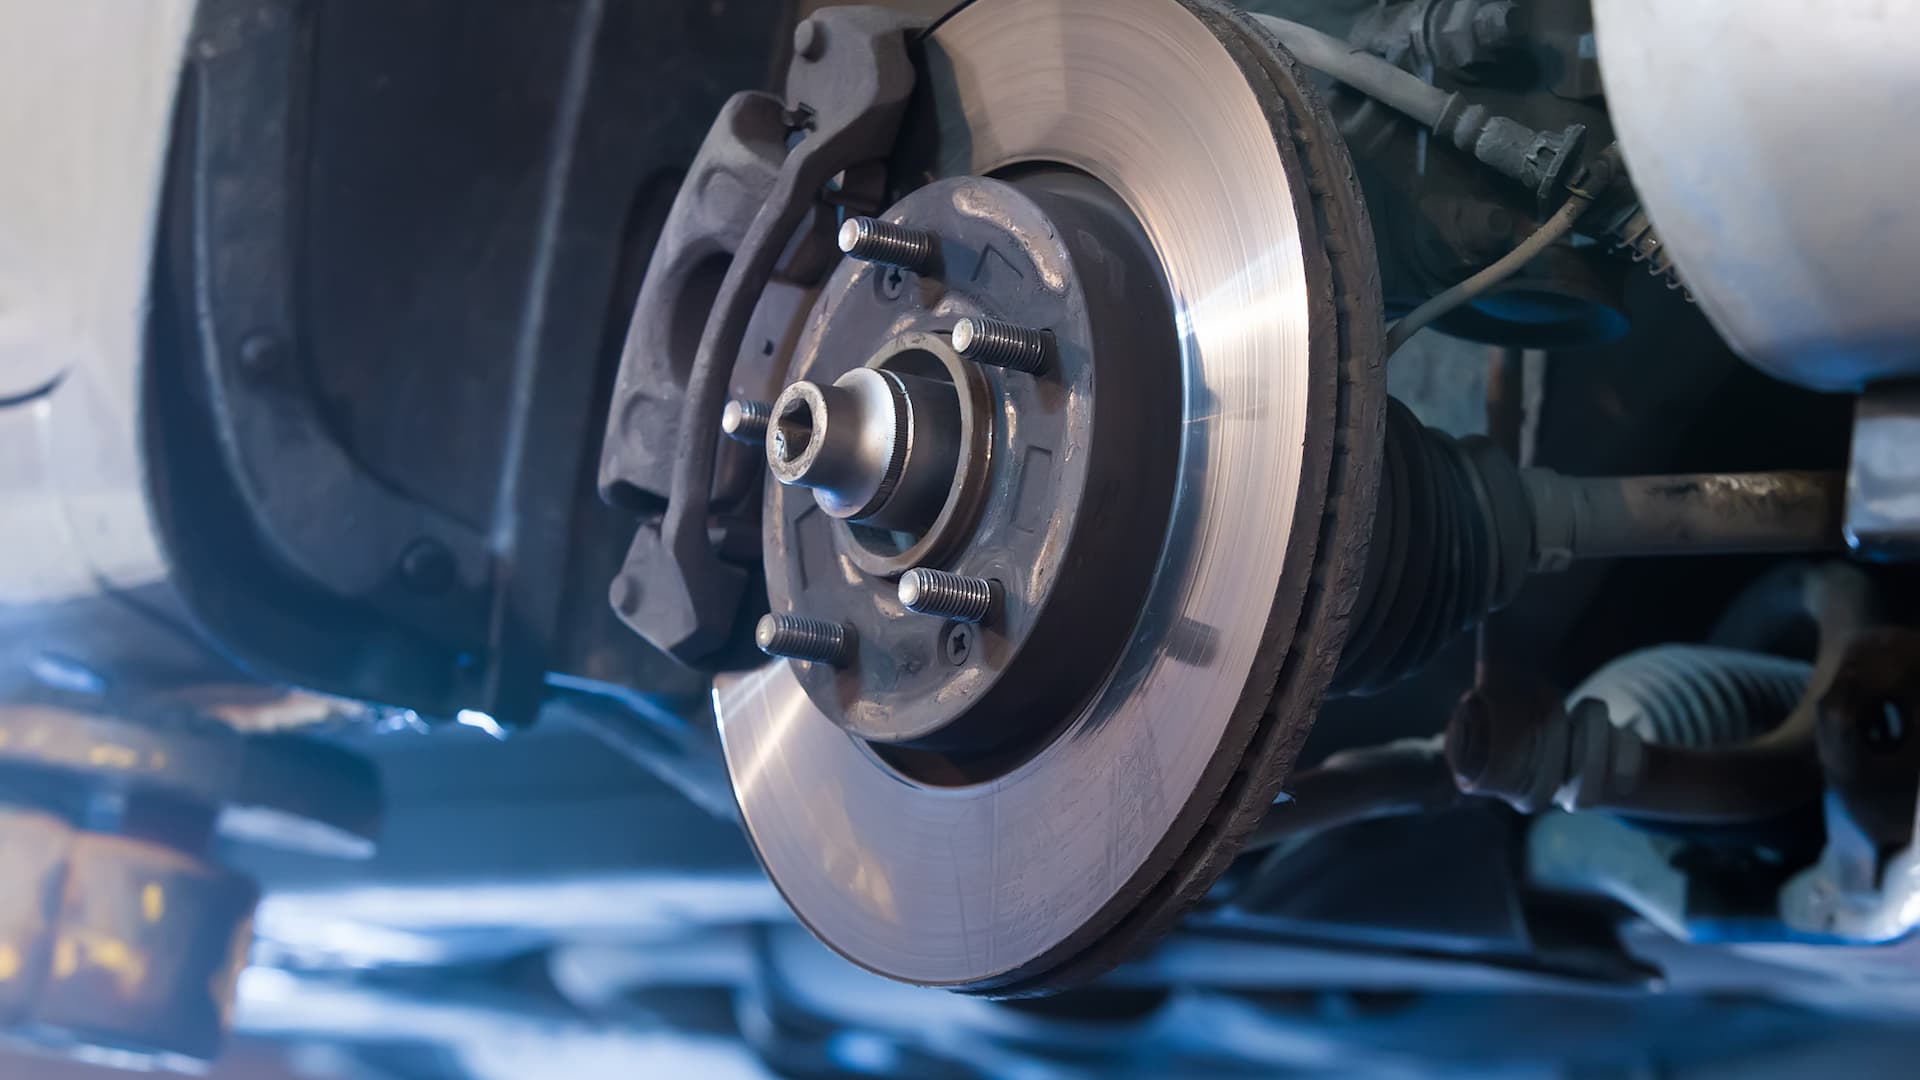
1. Why Rotors Warp and How to Spot It ⚠️
Brake rotors warp due to uneven heat distribution, often caused by:
- Hard braking: Repeated stops from high speeds.
- Improper torque: Over-tightened or uneven lug nuts.
- Rust/corrosion: Creates uneven rotor surfaces.
- Poor-quality rotors: Thin or cheap materials degrade faster.
Symptoms of a Warped Rotor:
- Steering wheel vibration during braking.
- Pulsating brake pedal.
- Squealing or grinding noises.
Key Stat: Warped rotors reduce braking efficiency by 20–30% and accelerate pad wear (NHTSA).
2. Machining vs. Replacement: Quick Comparison 📊
| Factor | Machining | Replacement |
|---|---|---|
| Cost | 20–50 (DIY) / 25–75 (pro) | 50–300 per rotor (parts) |
| Time | 2–3 hours | 1–2 hours |
| Longevity | 10,000–20,000 miles | 30,000–70,000 miles |
| Tools Needed | Brake lathe, micrometer, drill | Jack, lug wrench, torque wrench |
| Best For | Minor warping, thick rotors | Severe warping, thin/rusted rotors |
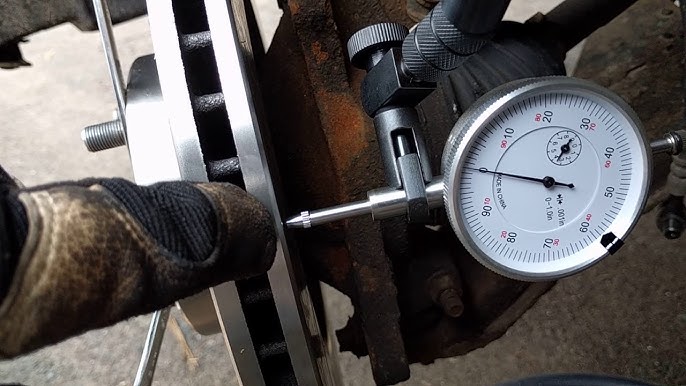
Pro Tip: Always measure rotor thickness before machining. If below the minimum discard thickness (stamped on the rotor), replace it!
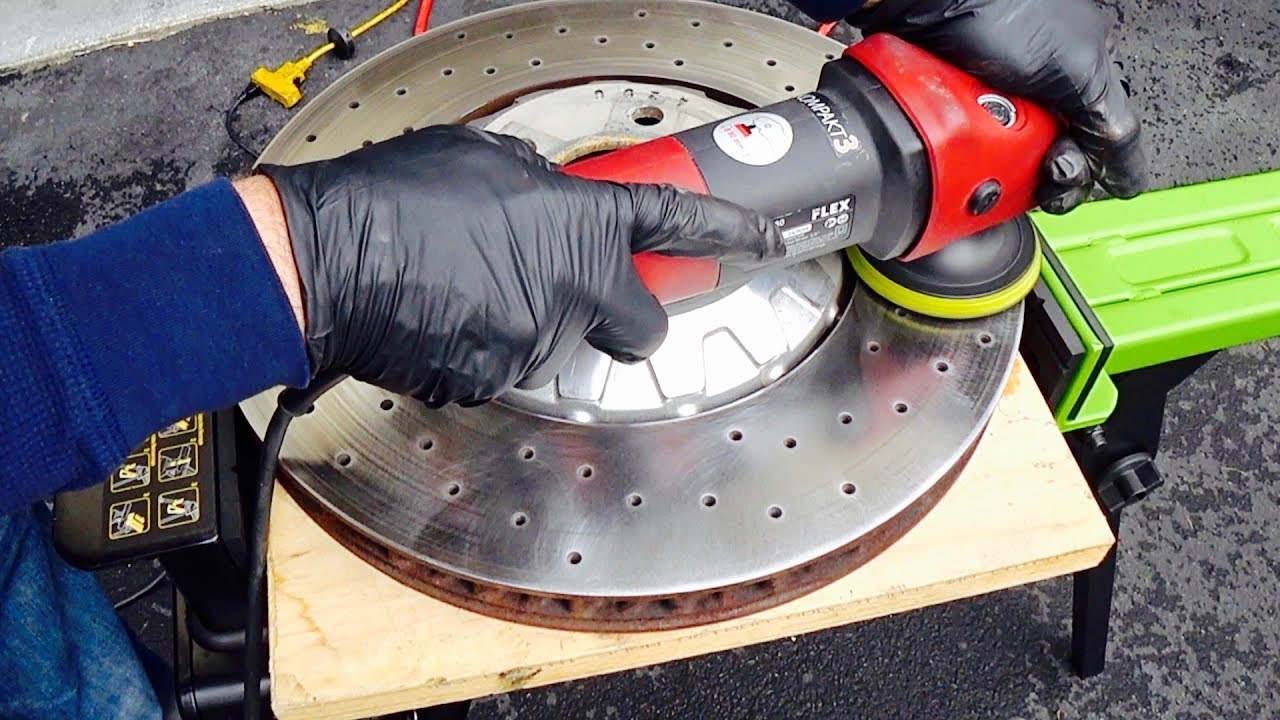
3. How to Machine Rotors at Home 🛠️
Tools Needed:
- Brake lathe (e.g., Fenix LD-20 On-Car Lathe: 300–600).
- Dial indicator or micrometer.
- Drill or rotor resurfacing tool (e.g., DIY Brake Rotor Resurfacer Kit: $150).
Steps:
- Remove the rotor: Jack up the car, remove the wheel, and unbolt the rotor.
- Measure thickness: Ensure it’s above the manufacturer’s minimum spec.
- Mount the rotor: Secure it on the lathe or drill-powered resurfacer.
- Resurface: Make light, even passes until smooth (remove ≤0.005” per side).
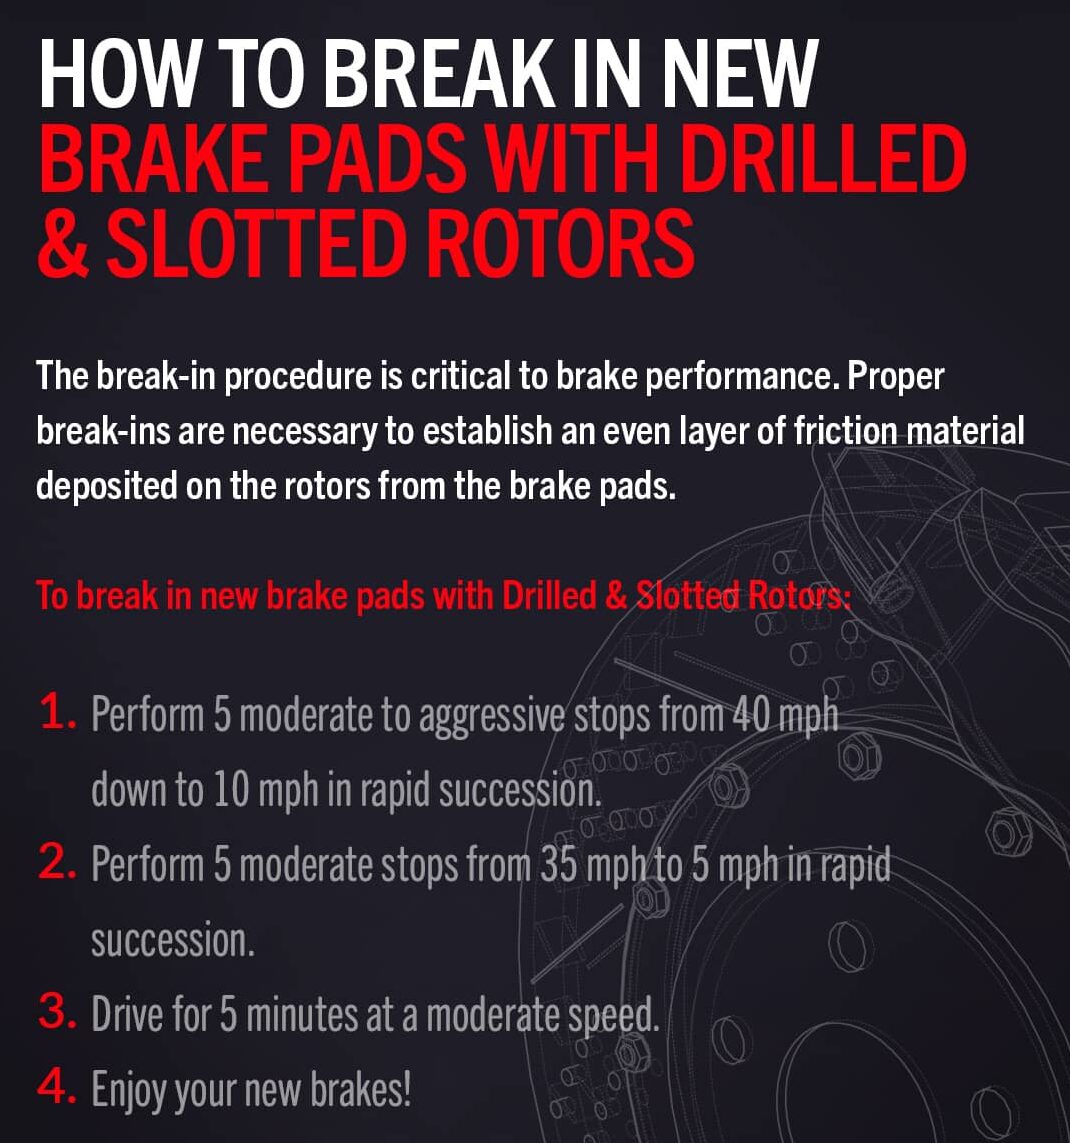
- Clean and reinstall: Degrease with brake cleaner and bed in new pads.
Pros:
- Saves money if rotors are thick enough.
- Eco-friendly (reduces waste).
Cons:
- Short-term fix; warping may recur.
- Not possible for thin/rusted rotors.
4. How to Replace Rotors at Home 🛠️
Tools Needed:
- Jack and jack stands.
- Lug wrench and torque wrench.
- Anti-seize lubricant.
- New rotors (OEM or performance brands like Brembo or Power Stop).
Steps:
- Remove the old rotor:
- Lift the car, remove the wheel, and unbolt the caliper (hang it with a wire).
- Remove the caliper bracket and slide off the rotor.
- Prep the hub: Scrub off rust with a wire brush; apply anti-seize.
- Install the new rotor: Align it on the hub and reassemble components.
- Torque bolts: Lug nuts to spec (75–100 ft-lbs for most cars).
- Bed-in pads: Follow the manufacturer’s heat-cycling process.
Pros:
- Restores 100% braking performance.
- Longer lifespan than machined rotors.
Cons:
- Higher upfront cost.
- Requires proper disposal of old rotors.
5. When to Machine vs. Replace 🛑
Machine If:
- Rotor thickness is above the minimum spec.
- Warping is minor (e.g., slight vibration).
- You’re on a tight budget.
Replace If:
- Rotors are cracked, deeply scored, or rusted.
- Thickness is near or below discard specs.
- You’re upgrading to slotted/drilled rotors for performance.
Case Study: A 2015 Honda Civic saved $200 by machining rotors, but warping returned in 8,000 miles.
6. Common Mistakes to Avoid 🚫
- Reusing old pads: Glazed pads can re-warp rotors.
- Skipping bed-in: New pads/rotors need proper heat cycling.
- Ignoring hub cleaning: Rust causes uneven mounting.
- Overtightening lug nuts: Use a torque wrench!
7. Cost Breakdown 💸
| Item | Machining | Replacement |
|---|---|---|
| Rotor Cost | $0 | 50–300 each |
| Tools/Equipment | 150–600 | 50–200 (jack, etc.) |
| Labor (Pro) | 25–75 per rotor | 100–300 total |
| Total (DIY) | 20–600 | 100–500 |
8. FAQs ❓
Q1: Can I machine rotors without a lathe?
A: Yes—use a drill with a resurfacing kit, but results vary.
Q2: Do I need new pads when replacing rotors?
A: Always replace pads with new rotors for optimal performance.
Q3: How long do machined rotors last?
A: 10K–20K miles if driven gently; less with aggressive braking.
Q4: Can I mix old and new rotors?
A: Never! Replace rotors in axle pairs (front/rear).
Q5: Why does my steering still shake after machining?
A: Hub runout, unbalanced tires, or suspension issues may be the culprit.
9. Free Rotor Maintenance Checklist 📝
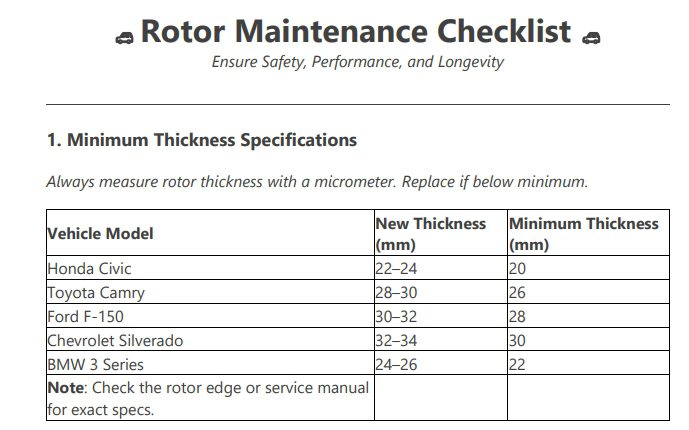
[🔗 Download Your Free PDF Here]
Includes:
- Minimum thickness specs for common vehicles.
- Bed-in procedures for new rotors.
- Torque specs by car model.
10. Final Tips 💡
- Check runout: Use a dial indicator to ensure the rotor sits evenly on the hub.
- Upgrade wisely: Slotted rotors reduce glaze but wear pads faster.
- Go OEM for reliability: Cheap rotors warp easier.
🚘 Share this guide to help fellow drivers stop safely and save cash! 🚘
Expand Your Automotive Knowledge 📝
Explore 500+ Free Expert-Curated Guides
🚗 Learn New Skills
From basic maintenance to advanced repairs — clear, actionable tutorials for every skill level.
🌍 Access Anywhere
Mobile-friendly guides with HD visuals. No downloads required.
- Guides & Tutorials
- Car Maintenance 101
- Diagnostics & Troubleshooting
- Seasonal Maintenance
- Budget-Friendly Repairs
- Electrical Systems Guide
- Car Safety & Reliability
- Tools & Product Reviews
- Routine Maintenance
- Car Modifications & Upgrades
- Buying/Selling Guides
- Eco-Friendly Car Care
- Advanced Repairs
- Car Laws & Compliance
- Emergency Repairs
- Future Car Tech

