Table of Contents
Disclaimer:
Modifying your vehicle’s exhaust system carries inherent risks, including potential damage to your engine, exhaust components, or personal injury. Always prioritize safety, wear protective gear, and consult a certified mechanic if uncertain. The author and publisher disclaim all liability for any outcomes resulting from this process. Proceed at your own risk.
Tools & Materials Required
Essential Tools:
- Ratchet sets (3/8” and 1/2” drive)
- Sockets: 12mm, 14mm (standard and deep), 17mm
- Wrenches: 12mm, 14mm
- Breaker bar (1/2” drive), 12” extension
- Small screwdriver, pipe wrench (12”)
Safety & Prep:
- Jack stands or hydraulic lift
- WD-40 or penetrating oil
- Anti-seize compound, torque wrench
- Safety gloves, goggles, and dust mask
Parts Included:
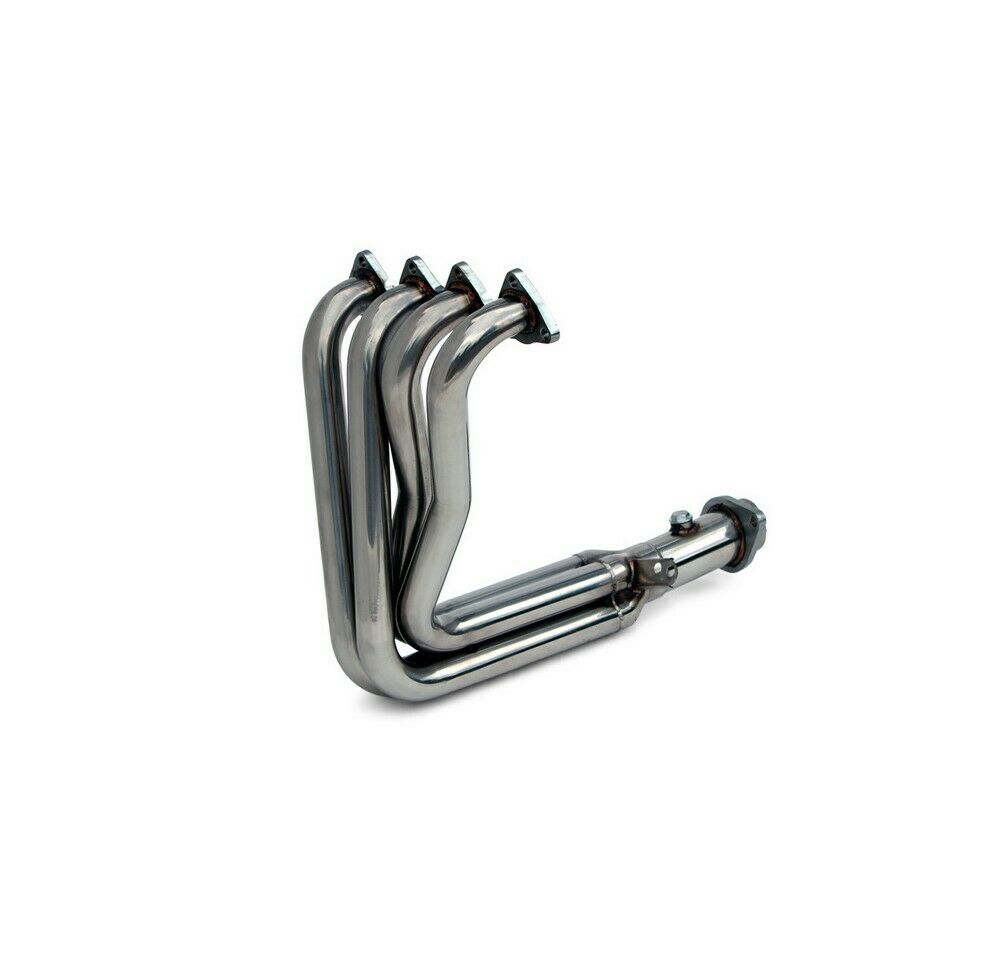
- Header, A-pipe, gaskets, bolts, nuts, installation guide
Step 1: Preparation & Safety
- Work Environment:
- Park on a flat, stable surface. Use jack stands to elevate the vehicle securely (10–12 inches).
- Disconnect the battery to avoid electrical hazards.
- Pre-Spray Components:
- Apply WD-40 to stubborn nuts/bolts (e.g., manifold-to-head nuts, catalytic converter spring bolts). Allow 10–15 minutes for penetration.
Step 2: Remove the Stock Exhaust Manifold
- Heat Shield Removal:
- Unbolt the 12mm heat shield bolts using a ratchet. Set aside.
- Manifold Disassembly:
- Loosen (but do not remove) the 12mm nuts securing the manifold to the cylinder head.
- Under the vehicle:
- Unplug the O2 sensor by pressing the connector’s release tab.
- Remove the two 12mm spring bolts connecting the A-pipe to the catalytic converter.
- Detach the A-pipe hanger bracket (12mm nuts).
- Extract the Manifold & A-Pipe:
- Remove the 14mm bolt securing the manifold to the engine block.
- Use a breaker bar and 14mm socket to remove the three nuts joining the manifold and A-pipe.
- Carefully lower the A-pipe, protecting the O2 sensor. Slide the assembly out.
- Clean Surfaces:
- Scrape old gasket material from the cylinder head and exhaust ports.
Step 3: Install the New Header
- Gasket & Header Mounting:
- Place a new manifold gasket on the cylinder head studs.
- Position the header, hand-tighten the original nuts with anti-seize compound.
- O2 Sensor Transfer:
- Use a pipe wrench to unscrew the O2 sensor from the old A-pipe. Apply anti-seize to its threads and install it into the new header (torque to 30 lb-ft).
- A-Pipe Connection:
- Insert new o-ring gaskets into the header and catalytic converter flanges.
- Align the A-pipe with the header and catalytic converter. Secure loosely with spring bolts (anti-seize applied).
- Final Tightening:
- Tighten manifold-to-head nuts in a crisscross pattern (12mm).
- Torque A-pipe bolts (17mm) gradually, starting with outer bolts. Avoid overtightening.
Step 4: Post-Installation Checks
- Reconnect Components:
- Plug in the O2 sensor and secure its wiring bracket.
- Reattach the A-pipe hanger if applicable.
- Leak Test:
- Start the engine and inspect for exhaust leaks at joints. Listen for hissing or irregular noises.
- Retorque After Cooling:
- Let the engine cool completely, then recheck all nuts/bolts for tightness. Repeat after 50–100 miles of driving.
Troubleshooting & Tips
- Stubborn Bolts: Use heat (propane torch) cautiously on rusted fasteners.
- Exhaust Leaks: Replace damaged gaskets or apply high-temperature RTV sealant.
- Check Engine Light: Ensure the O2 sensor is properly connected and functioning.
Why Quality Matters
Low-quality headers may warp or crack under heat. Opt for OEM or reputable aftermarket brands (e.g., DC Sports, Skunk2) for durability and fitment.
Final Notes:
Header installation boosts performance but requires precision. If challenges arise, consult a professional mechanic. Share your experience or questions below—we’re here to help!
🔧 Drive safely and enjoy the enhanced throttle response!
Expand Your Automotive Knowledge 📝
Explore 500+ Free Expert-Curated Guides
🚗 Learn New Skills
From basic maintenance to advanced repairs — clear, actionable tutorials for every skill level.
🌍 Access Anywhere
Mobile-friendly guides with HD visuals. No downloads required.
- Guides & Tutorials
- Car Maintenance 101
- Diagnostics & Troubleshooting
- Seasonal Maintenance
- Budget-Friendly Repairs
- Electrical Systems Guide
- Car Safety & Reliability
- Tools & Product Reviews
- Routine Maintenance
- Car Modifications & Upgrades
- Buying/Selling Guides
- Eco-Friendly Car Care
- Advanced Repairs
- Car Laws & Compliance
- Emergency Repairs
- Future Car Tech


