Design you own cold air intake

Design you own cold air intake

Here’s what you’ll need:

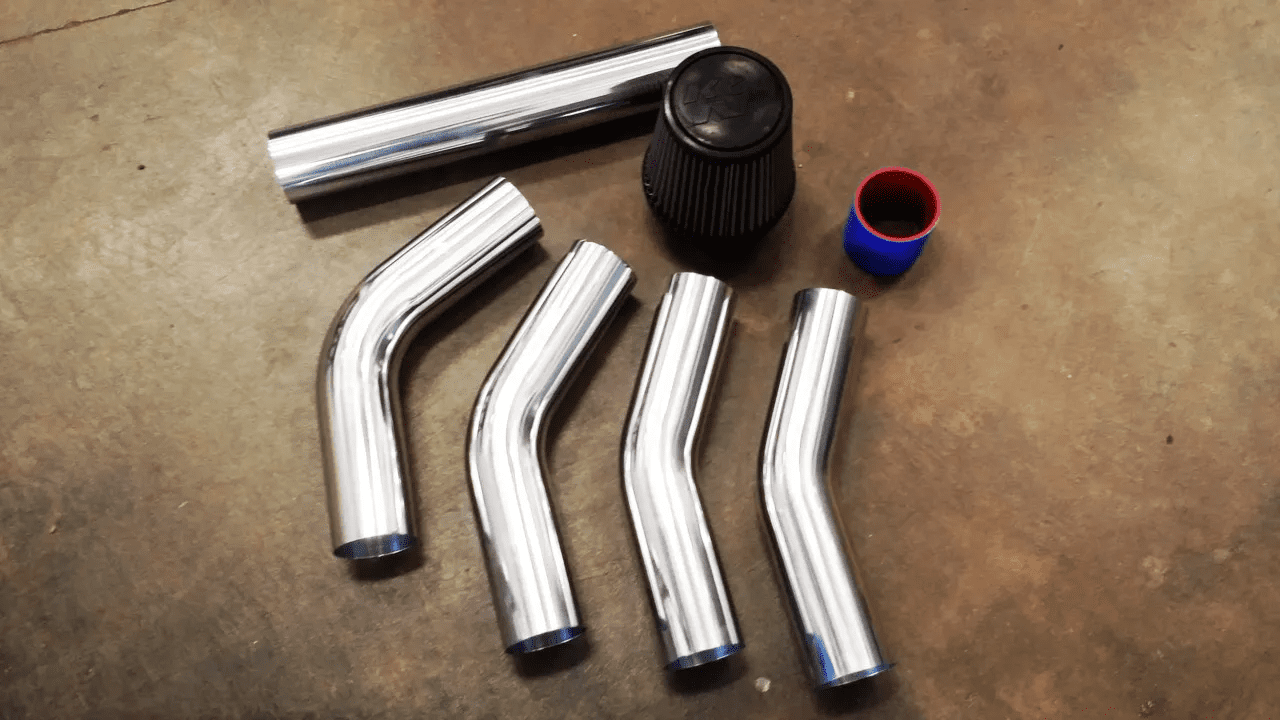
ü 180 degree mandrel-bent piece of steel tubing – see notes below

ü (4) rubber PVC pipe clamps – see notes below

ü K&N “Funnel Ram” Filter – see notes below

ü (1) can of Plasti-Coat ceramic high-temp engine spray paint – see notes below

ü 3/8″ ID rubber grommet, 3/8″ OD piece of plastic tube (about 4″ of tube), 5/8″ OD (3/8″ ID) piece of vinyl hose (about 12″ of hose) – see notes below

ü Flathead screwdriver

ü Hacksaw or air cutting wheel

ü Electric drill with 3/8″ drill bit.

ü Metal file and sandpaper

The total cost of the project is about $40 – $60 depending on shipping prices, the brand of filter you buy, etc.

* Notes:

Ø First, the tubing is a piece of mandrel-bent tubing. It’s a “180 degree u-bend”. This single piece of pipe will be used to make the entire CAI system. This pipe can be bought at your local home improvement store or on the internet.

Ø The rubber pipe clamps can be purchased at any home improvement Store also. They are made of durable, flexible, high-temp black rubber, and already have (2) stainless steel clamps integrated into them. Go to the PVC plumbing section, and look for “PVC Pipe Clamps”. The ones you need are for 2″ pipes, you will need 4 of them.

Ø On the filter, you need a cone filter for the end of the tube to keep the dust out. They are about $20.00 at you local speed shop. It’s a 6″ filter with a 3″ opening.

Ø Ceramic paint, go to any Auto Zone or Wal-Mart store, and buy “Dupli-Color” brand high-temp engine paint. You will need 1 can.

Ø The grommet and hoses will be used to make the crankcase vent system. You can buy the parts at you home improvement center when you are buying the PCV pipe clamps.

Install

Please remove the bumper and all of the stock airbox components

Removing Bumpers and Adding an Intake

First clean all piping, once it is cleaned off, make sure it’s dry. The first step is to cut the pipe. The top bend is the easiest to do first.

You can see from the following picture that the angle matches the stock intake angle. You can use the stock upper piece as a rough guide for making the cut.

Lay the pipe up against the throttle body, and eyeballed the proper angle that the pipe needed to be cut at.

You’re going to have to use your imagination and a little creativity here, but it’s not hard. See the following picture:

Use a hacksaw or cutting disc to make the cut, make sure it’s straight. When finished cutting, clean up any rough or sharp edges with the metal file and sandpaper.

Now double-check everything by installing the first rubber pipe fitting onto the throttle body. It’s a very tight fit, so it will help to lubricate the fitting using a rubber friendly lubricant like silicone grease or even a little bar soap). You will have to wrestle it on, but it does fit, as in the following picture:

Once you have the fitting on, insert the pipe and clamp it down. Make sure the straight part of the pipe goes perfectly towards the opening to the bumper where the resonator was. One thing to note here. Those worried about hydrolock and water, can convert their CAI into a “dry” system by simply bolting the filter onto this short piece of pipe. This is useful during rainy or winter months. See the picture below:

Once you are satisfied with the first piece, it’s time to complete the rest of the system. Once again, imagination and creativity come into play here.

As you make each cut, keep assembling and test fitting the entire intake system. Attach the second pipe to the first pipe still attached to the throttle body, and make sure the second pipe curves down into the bumper hole. Then attach the third pipe to the second pipe and make sure it makes a curve in the opposite direction. You will have to attach the third pipe from inside the lower bumper opening.

After you rearrange the pipes, the entire system should look roughly like the following pictures:

You can assemble the whole system outside of the car using the fittings and the filter. It should look like the following pictures:

Once the system looks like the pictures, and you have test fitted everything, it’s time to finish the job.

This Next Step is Very Important

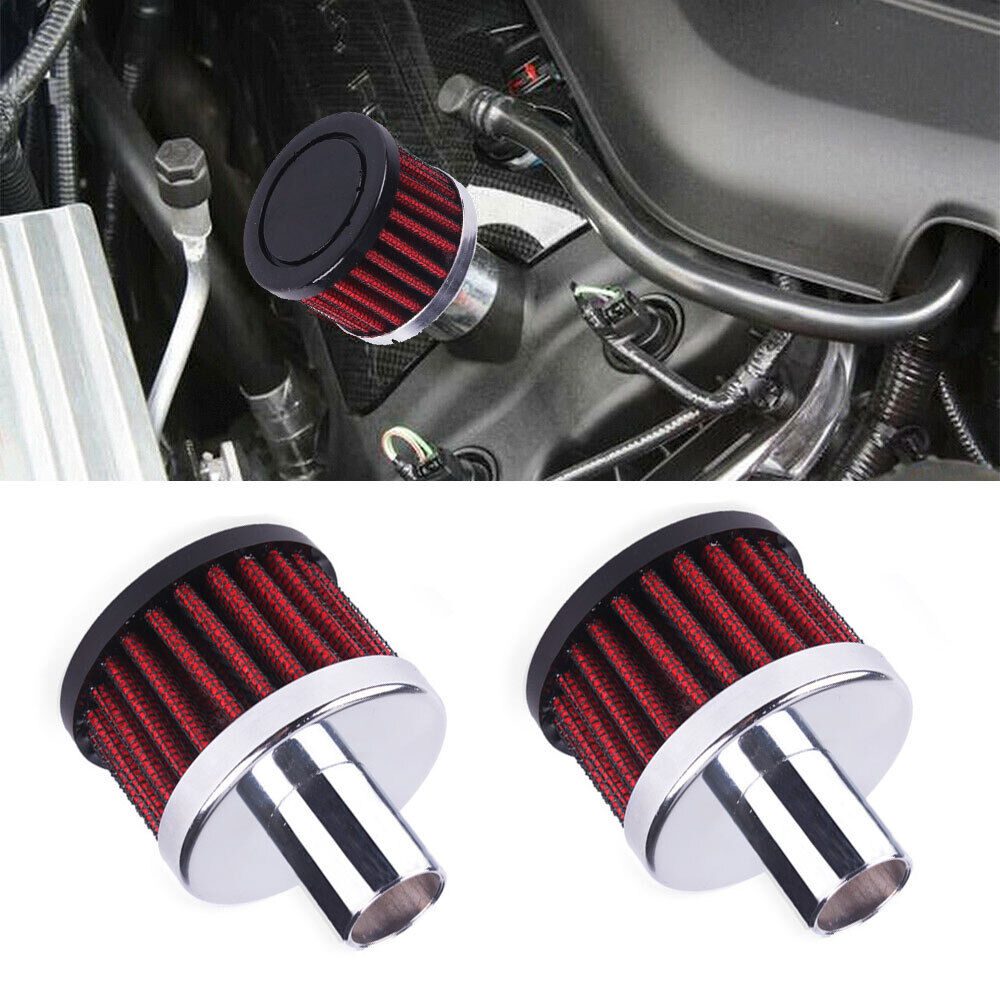
This step involves making the crankcase vent that goes from the intake system to the valve cover. You need to do this part, it cannot be left out! All you will be doing is drilling a 3/8″ hole into the upper intake pipe. Look at the stock piece to see about where the hose needs to go.

It will be easiest to start with a small drill bit and move up to 3/8″. Make sure you make the hole facing the valve cover connection! Once you have drilled the 3/8″ hole, insert the 3/8″ rubber grommet. Then cut a 3″ or so piece of 3/8″ OD plastic tube, and insert it into the grommet. Make sure it is a very tight fit, basically airtight. It might even be so tight that you need to lubricate the tube to insert it into the grommet. Insert the tube so that about 1″ is inside the pipe itself, and 2″ is outside of the pipe. Once the tube is in the pipe, attach the 5/8″ OD (3/8″ ID) tube over the tube, and attach the other end to the vent on the valve cover. You may need to shorten the length of tubing to fit. Make sure it’s not stretched too tight. But not too much slack either. Also, make sure the tubing isn’t kinked this will restrict airflow.

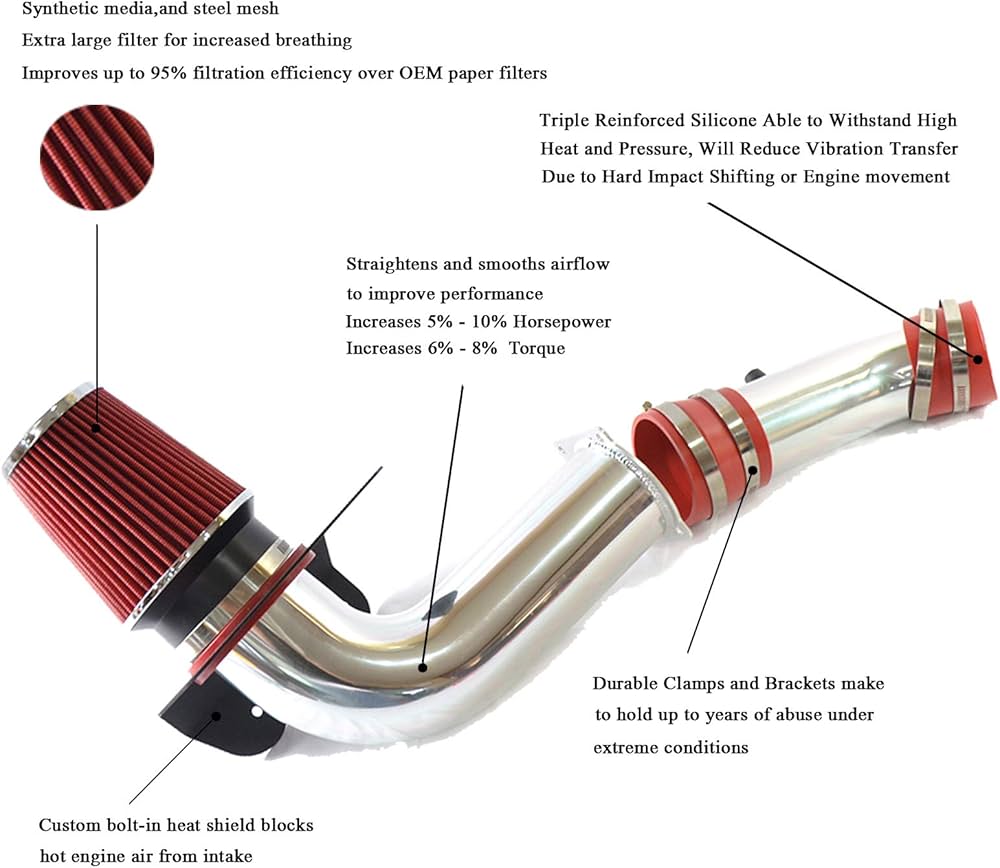
See the following drawing for what the complete system should look like:

Once the tubing system is complete, remove the tubing pieces and the grommet.

* Note: If you are making this system for an OBD-II car (i.e. 1996+), you will need to make a place for the intake air temperature sensor. See the additional notes section at the end of the article for more information before continuing!


Next Step is to Paint the System.

Get everything cleaned up again using soap and water, or a good engine degreaser or cleaner. Finally, rub it all down with isopropyl alcohol to remove any hand and finger oil. Once you have done so, it’s time to paint the system. This is a very important step. Why? Well, the piping is made of plain mild steel, which rusts. The good news is that this piping has been aluminized because it was originally designed for use as exhaust piping. This is to our advantage, because the aluminization will help fight off rust caused by rain moisture and winter salt. However, the edges are exposed steel, and will rust. Also, the ceramic-based paint will help block most of the underhood engine heat, and painting the inside of the pipe will help to smooth the interior. This will speed up the airflow which is a good thing.

YOU WILL BE PAINTING THE INSIDE AND THE OUTSIDE OF THE PIPING!!!

Paint the inside of the piping first, using light coats. You will have to be creative here, and shoot the inside of the pipe from both ends to ensure the entire inside of the pipe is covered with paint. Make sure you keep moving the can, and don’t spray too heavily, which will cause BAD paint runs and also reduce the overall inside diameter of the piping. Paint the inside of the system with a total of about 3 light coats of paint.

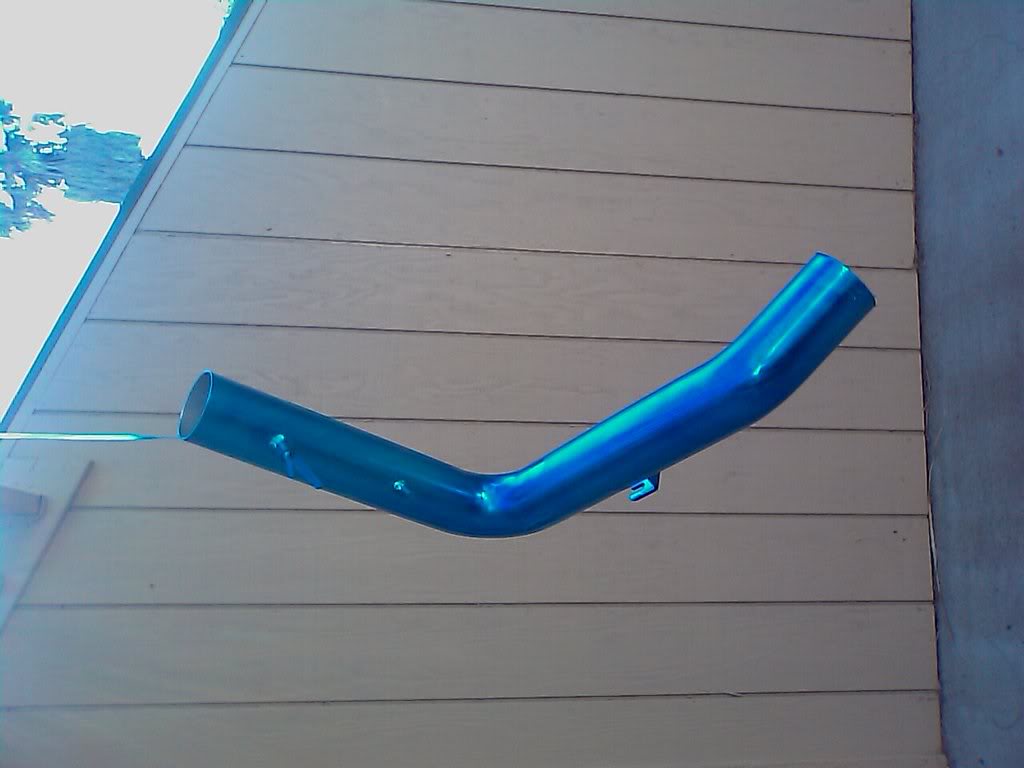
Let it dry for a few hours, and come back and re-clean the outside of the pipe with the isopropyl alcohol to remove any hand or finger oils. Then carefully paint the outside of the pipe using light coats. You will have to flip the pieces over to make sure you cover the entire pipe, or you can just suspend the pipe from a piece of string (allowing you to paint the entire piece of piece at once without flipping it over to do the other side.) Use about 4 coats of paint on the outside.

You will be able to handle the pipe after a few hours or drying, but I would HIGHLY recommend even letting the paint dry overnight, as it takes some time to cure. Follow the instructions on the can of paint for the exact details.

Once the system is completely dry, it time to finish up. You will start by CLEANING THE  INSIDE OF THE PIPING!!! Anything inside of the piping (i.e. dust, metal shavings, loose paint, etc.) will get SUCKED RIGHT INTO YOUR ENGINE when you start the car! This is BAD if you didn’t guess. The easiest way to do it is to run a medium sized towel into the pipe, and pull it through the other end. The towel will pull any loose particles with it and leave the inside of the pipe clean and ready to go.

Once the piping has been cleaned out, reinstall the grommets and insert the 3/8″ OD plastic tube. Then assemble the intake system and install it. I had to install the upper two pieces first, and then bolt the third piece and filter on from underneath the bumper opening. See picture:

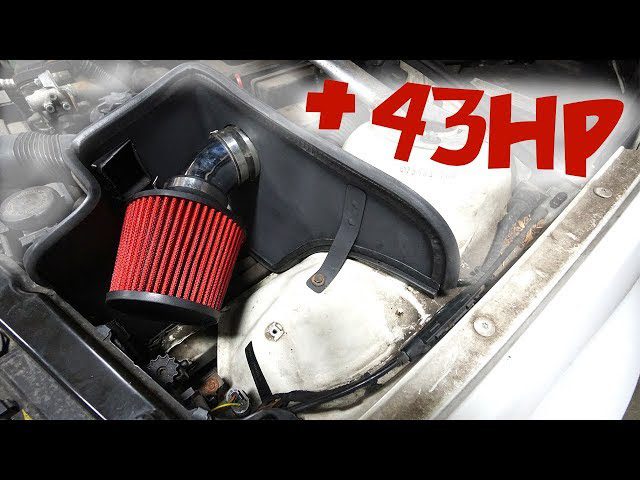
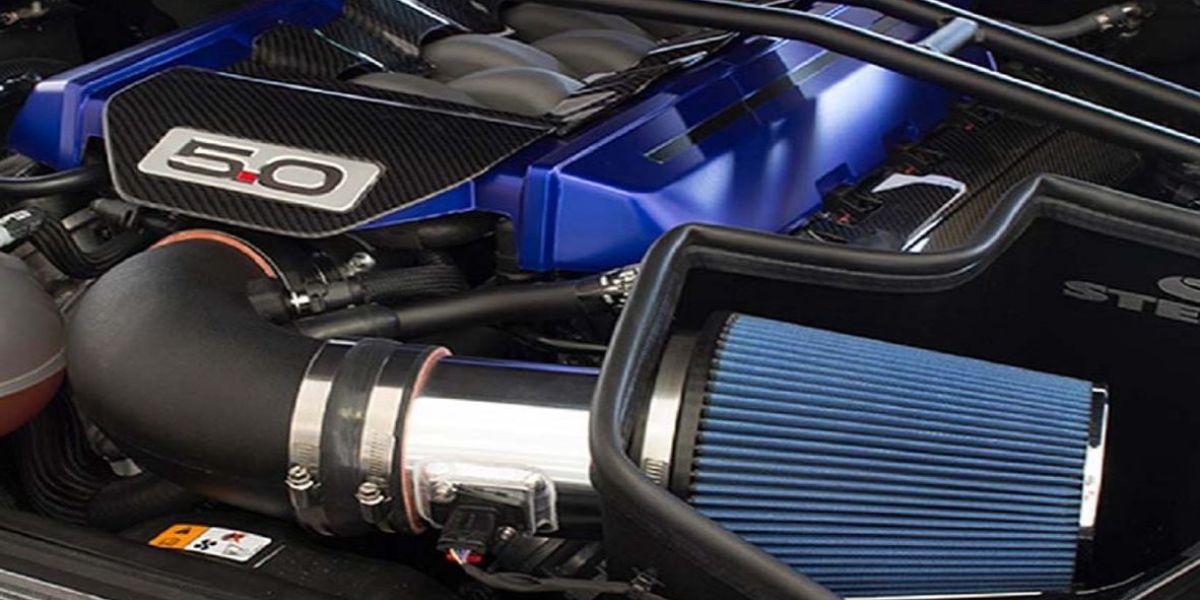
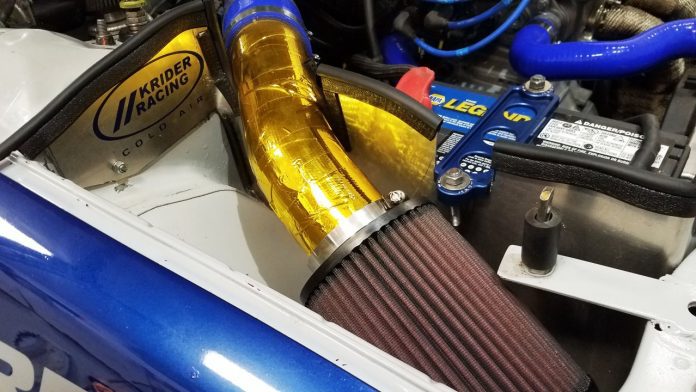
The completed system should look like this picture:

Don’t forget to hook up the vinyl tube that goes from the intake pipe to the valve cover vent!!

Finally, put your bumper back on, clean up, and go out for a test drive! You should feel a SIGNIFICANT difference in power across the entire power band.
ADDITIONAL NOTES:

The procedure above applies to OBD-I cars. Starting in 1996, Honda added a second intake air temperature sensor in the upper intake tube for OBD-II. So if you are making this system for a 1996+ car, all you need to do is buy an additional grommet and drill a second hole in the intake tube for the intake temperature sensor. Look on the stock rubber tube to see where the sensor is located, and drill the hole in roughly the same spot. Then just insert the grommet and intake temperature sensor and secure everything and you’re done!

The intake piping listed is 2.5″. For larger motors (Type R, H-series motors, and even non-intercooler turbo cars), you can use 3″ piping. I would not recommend using the 3″ piping on smaller motors (like 1.5 and 1.6L etc.) because you will lose a lot of the low and mid-range power that the AEM system was specifically designed for.